How-to Upload an Exhibit Before and During a Deposition
This article will teach you how to upload an exhibit into a deposition both before and during the deposition.
Quick Take: The virtual deposition platform currently supports the following file types: .PDF, .PNG, .JPG, .DOCX, .XLSX, and .PPTX
Instructions
Before the Deposition:
As a scheduler or host, you can upload exhibits prior to the start of the deposition
a. Exhibit files can be uploaded as you create the deposition by adding the files into the “Exhibits” box at the bottom of the Deposition Details page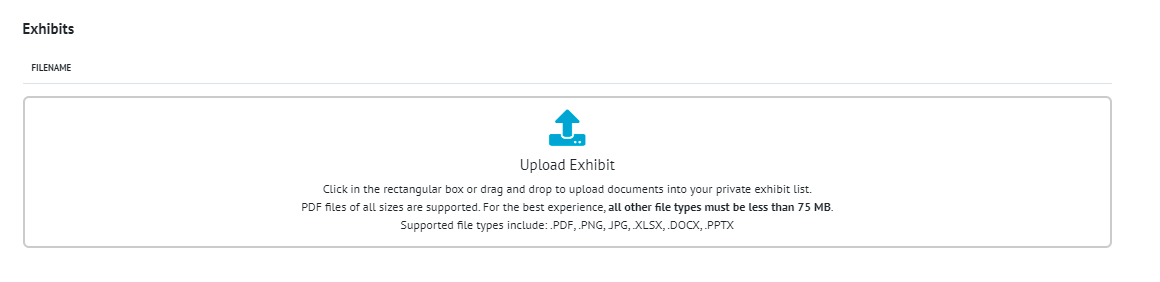
Once uploaded, these files are private and only visible to you
a. These exhibits will not be available to others until you share them on the record once the deposition has started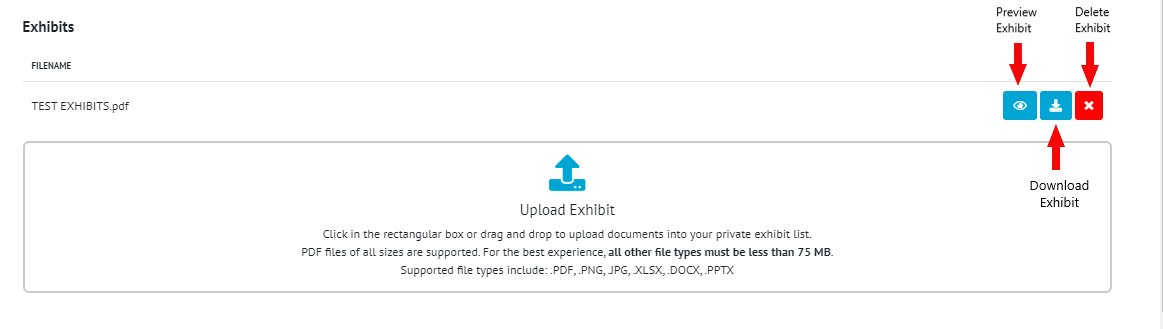
As an attendee, you can upload exhibits prior to the start of the deposition (change outline)
Join the deposition room prior to the scheduled deposition
Click the orange “Exhibit” button to the far right
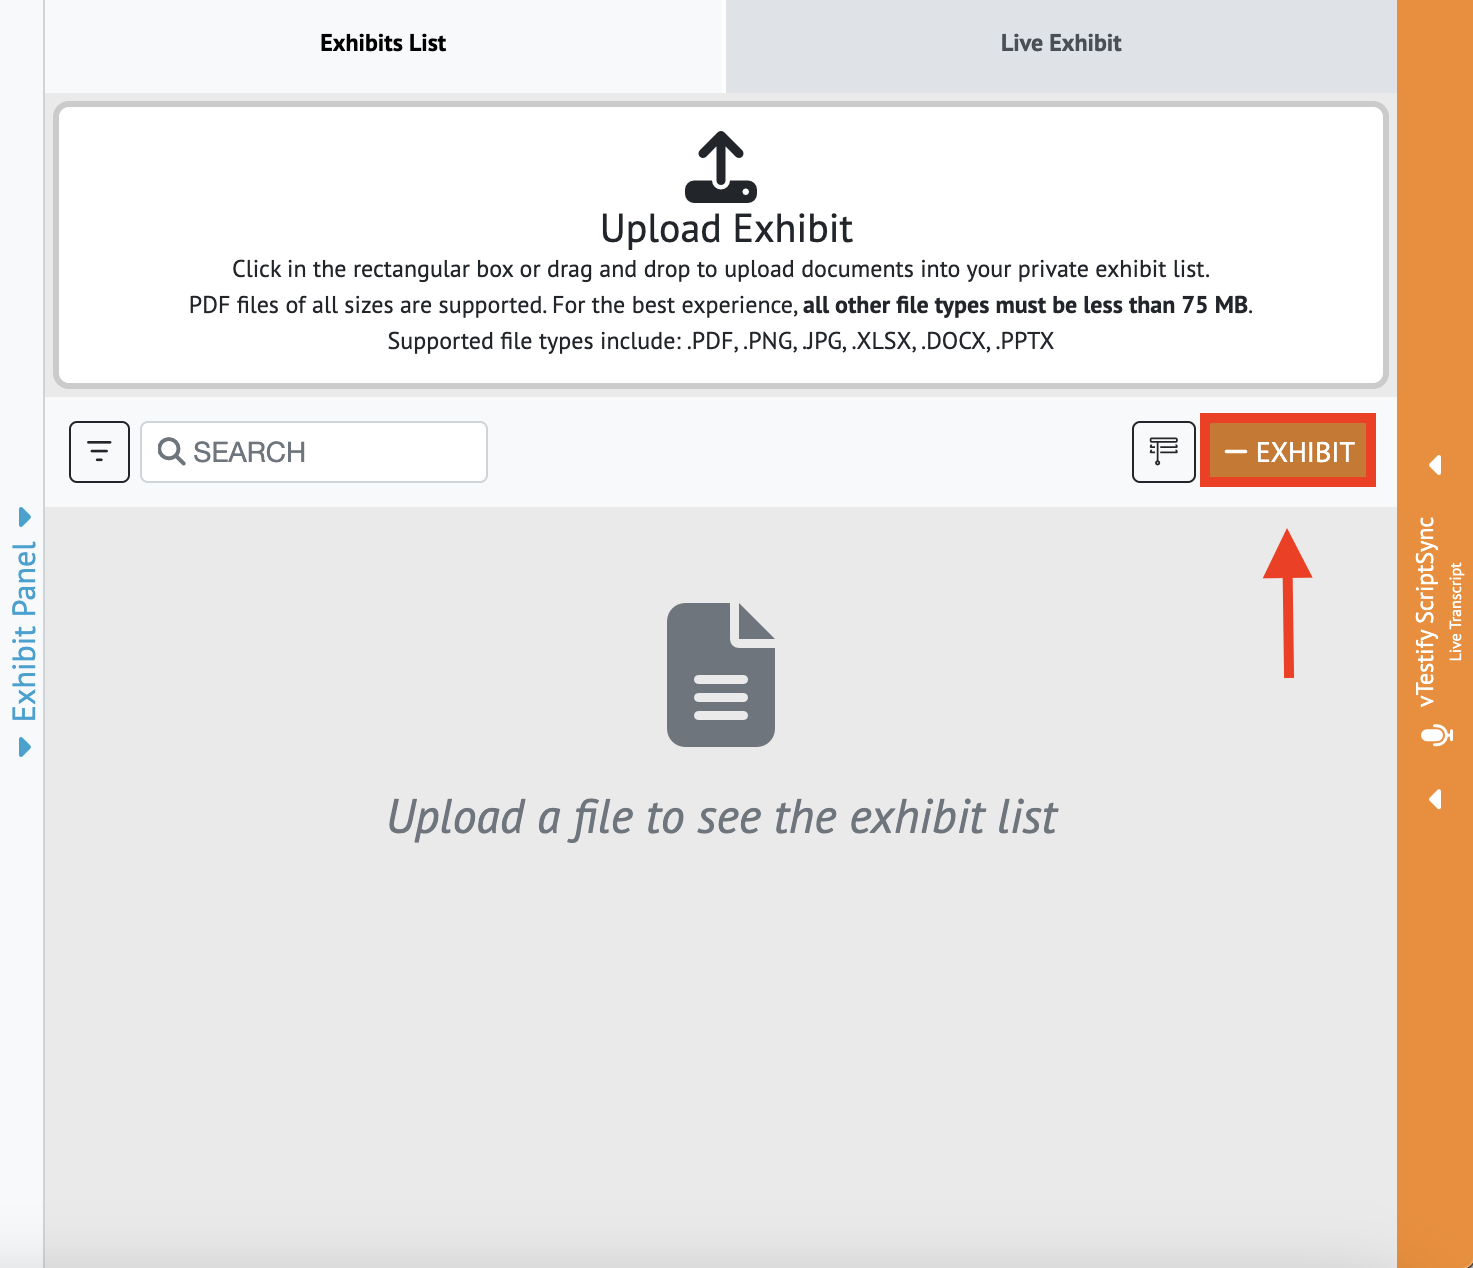
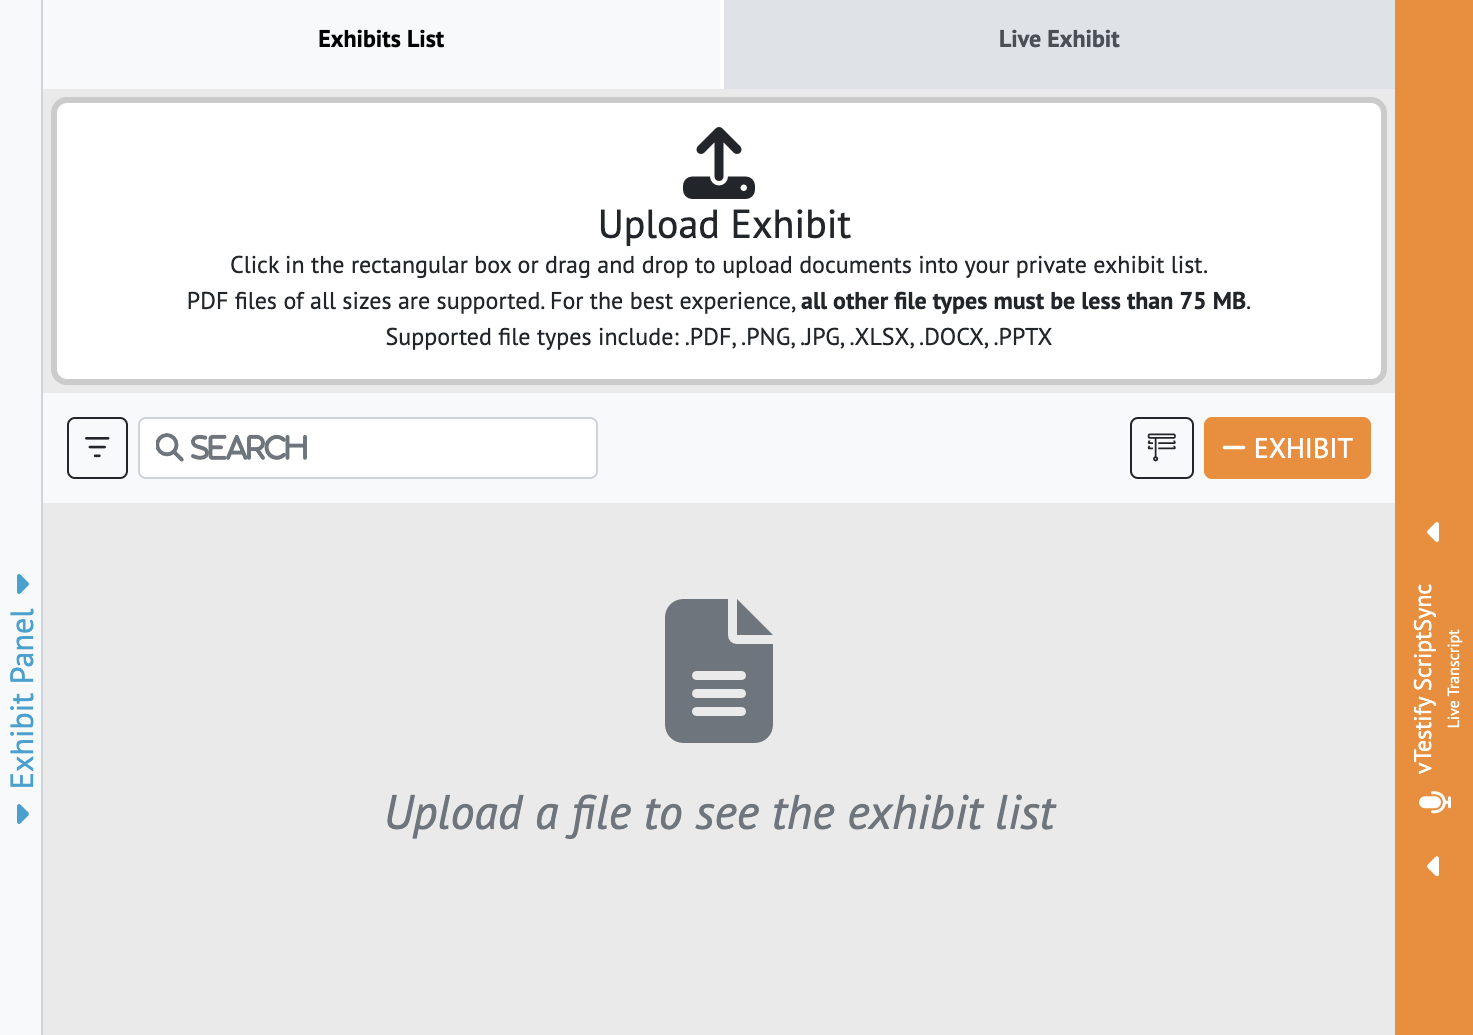
Exhibit files can be uploaded by clicking or dragging the file to the “Upload Exhibit” box
Once uploaded, these files are private and only visible to you
You can preview the exhibits by selecting “Private View” or by clicking on the uploaded exhibit
Uploaded exhibits may be stamped and annotated prior to sharing the exhibit. For more information, please see How-to Stamp an Exhibit
To delete the exhibit before sharing it, select the “Delete” button

These exhibits will not be available to other attendees until you share them
During the Deposition:
While the deposition is in session, you still have the option to upload exhibits on the fly
Select the orange “Exhibit” button
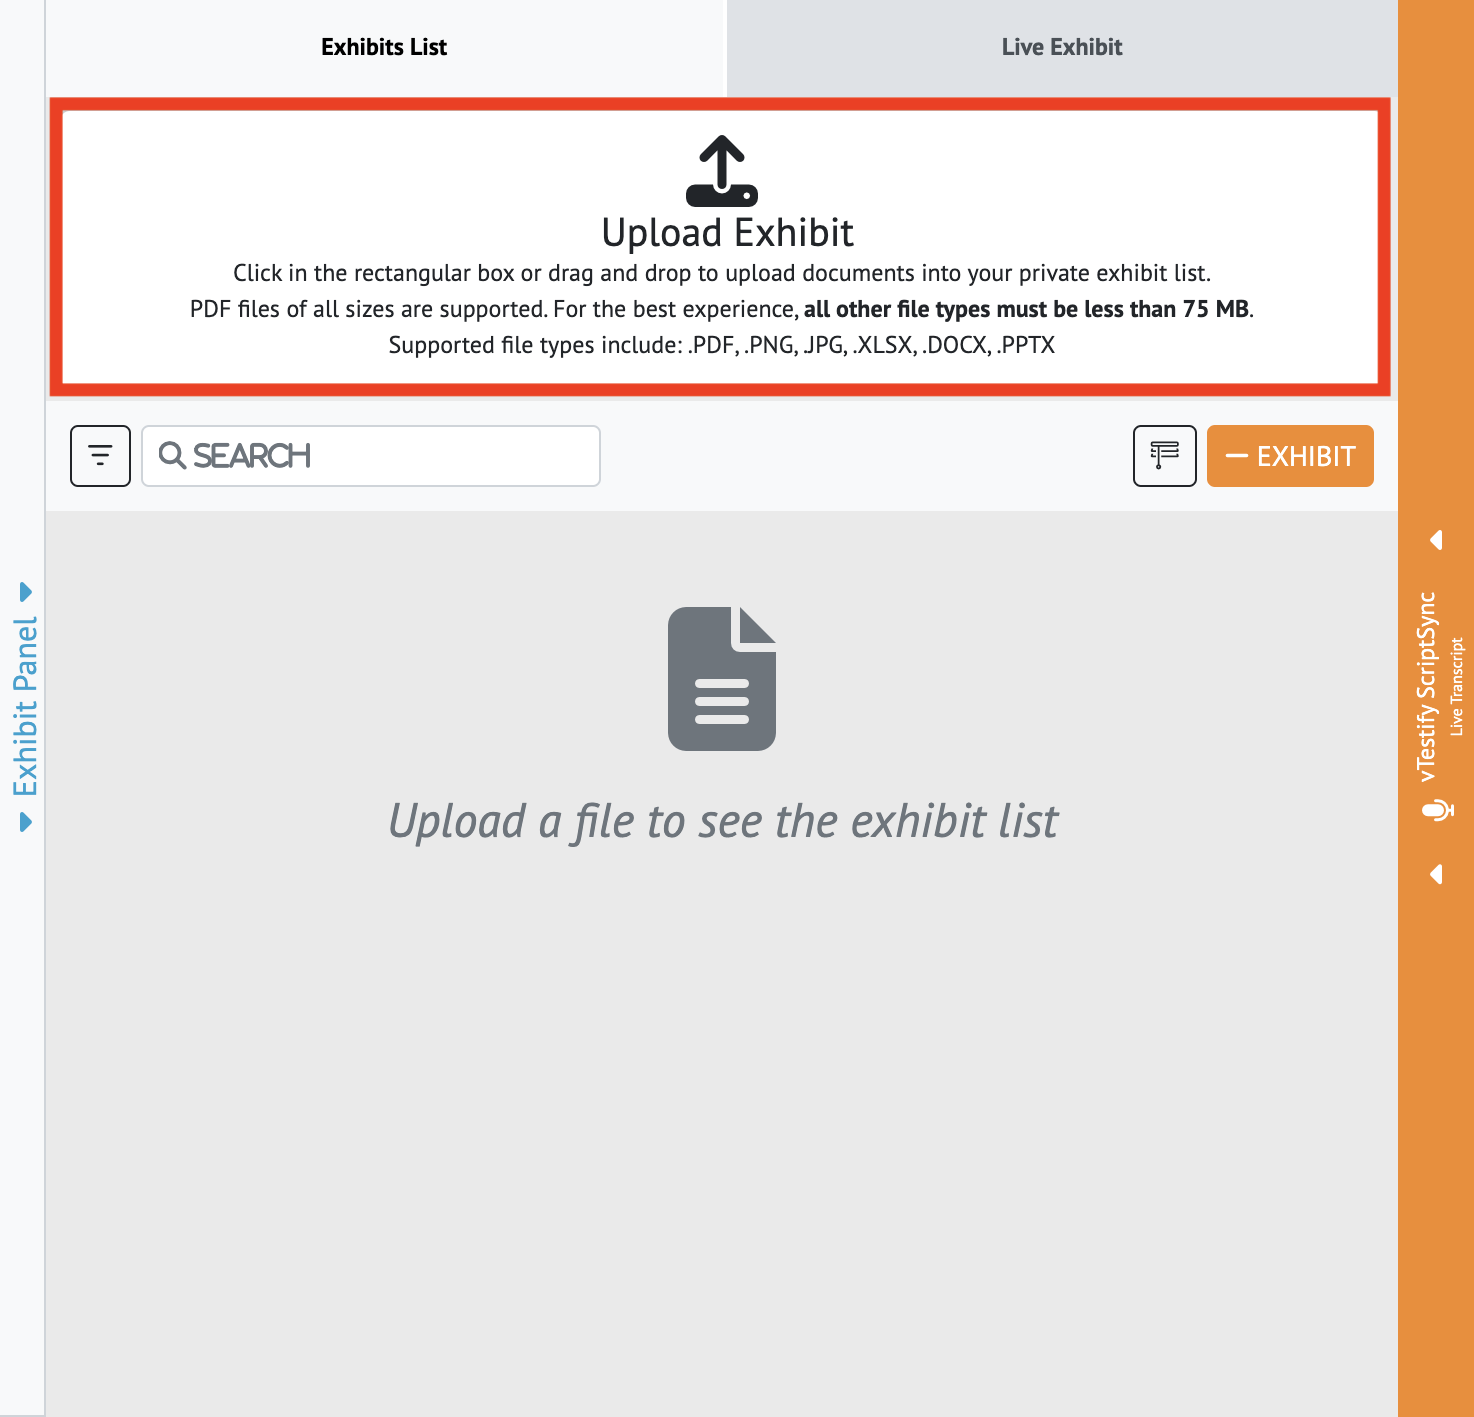
This expands a white box that allows you to either drag-and-drop the files or click-to-upload by browsing your computer
The Exhibits can be viewed, stamped, annotated, or deleted before sharing. For more information, please see How-to Stamp an Exhibit
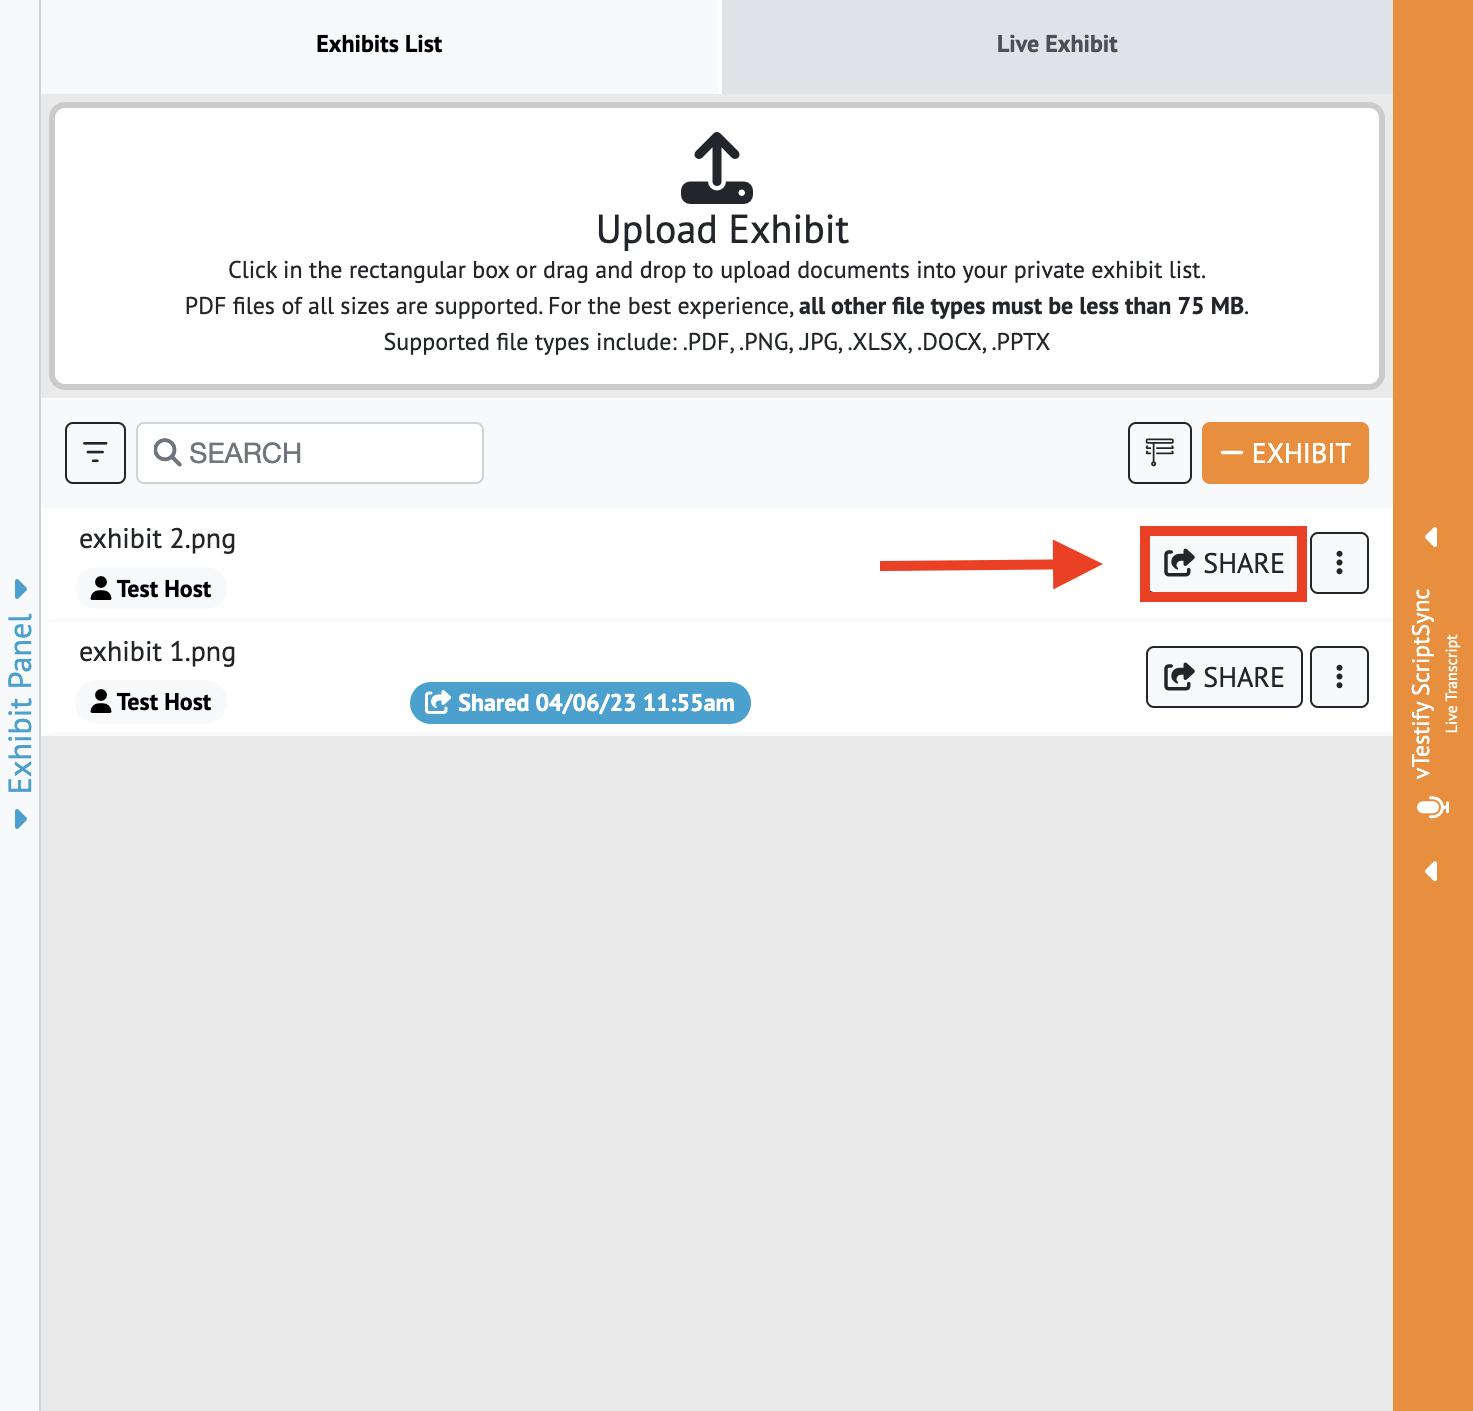
Exhibit files will not be visible to other attendees until you click the “Share” button to the right of your uploaded exhibits. For Exhibit Controls, once an Exhibit has been shared please see Exhibit Permission Controls
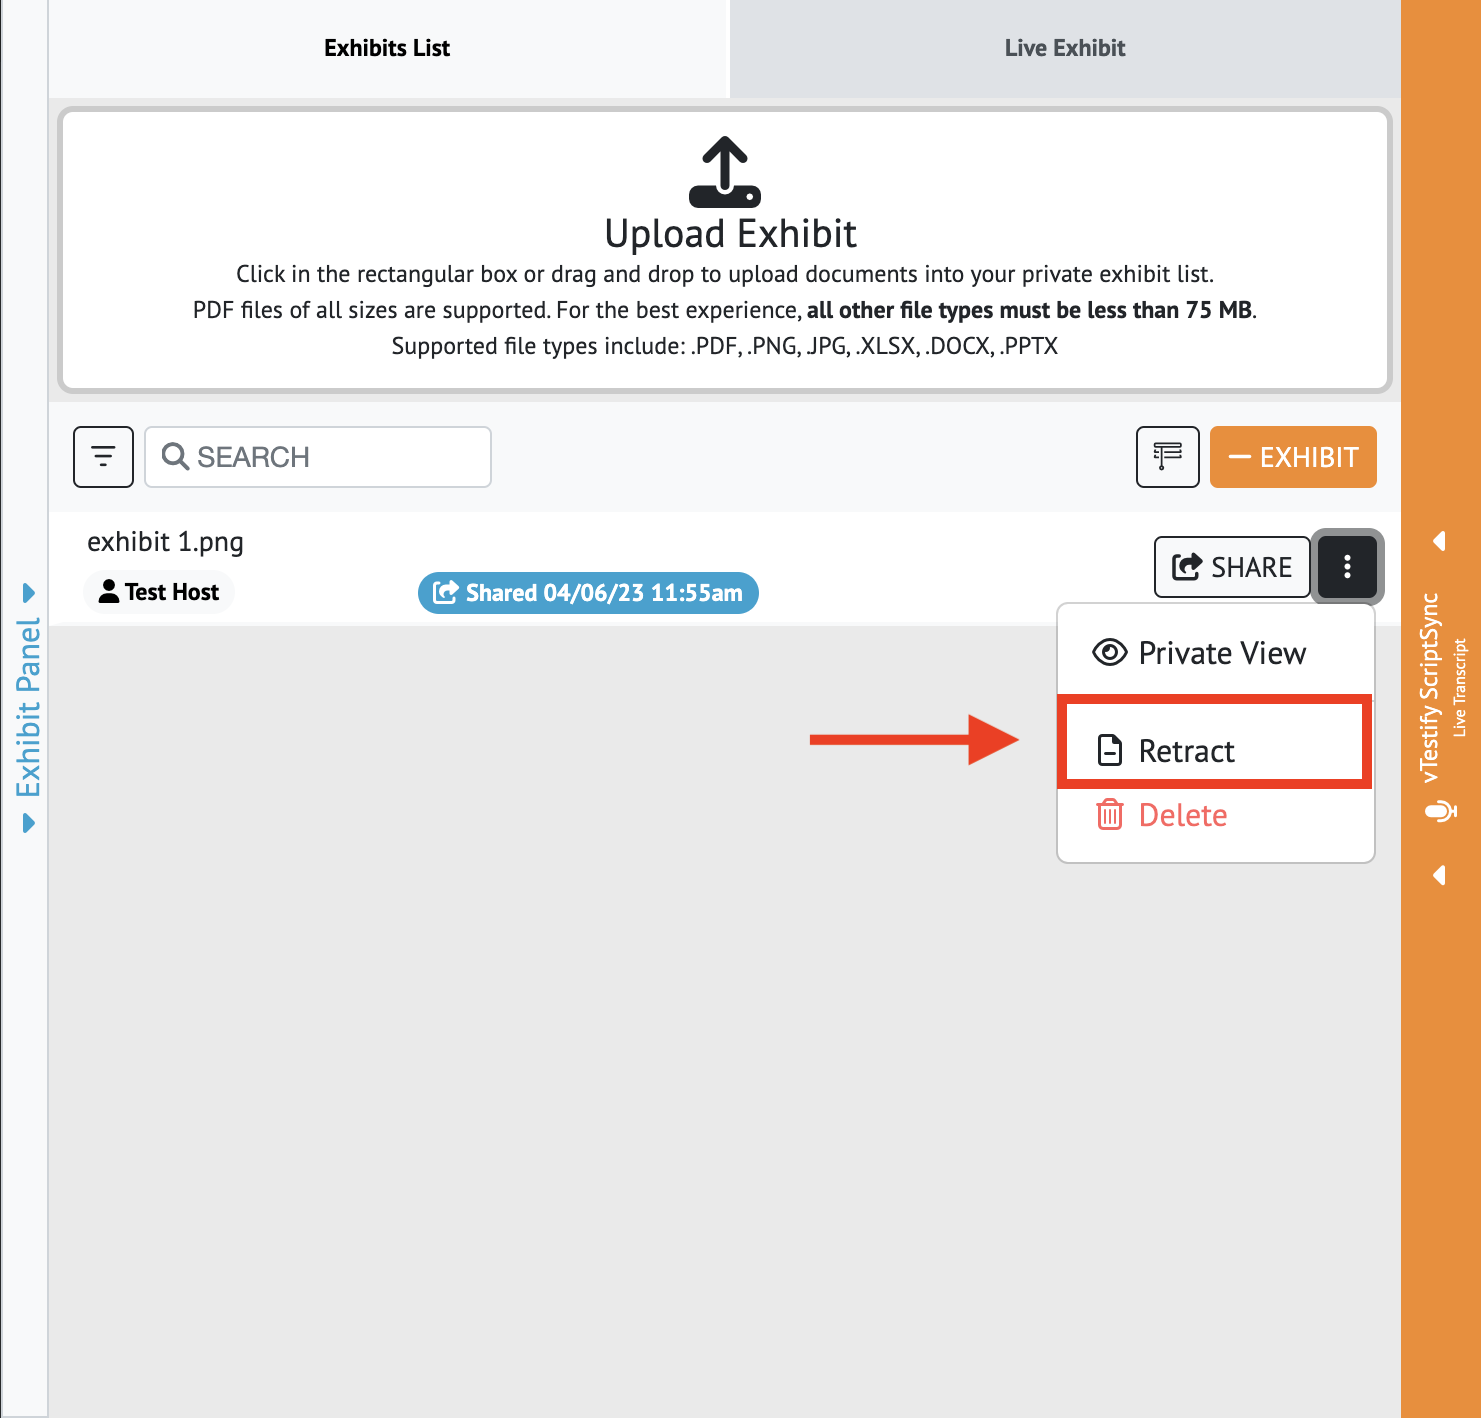
You can Retract a shared exhibit by clicking the 3 dot vertical ellipsis
Select the “Retract” button
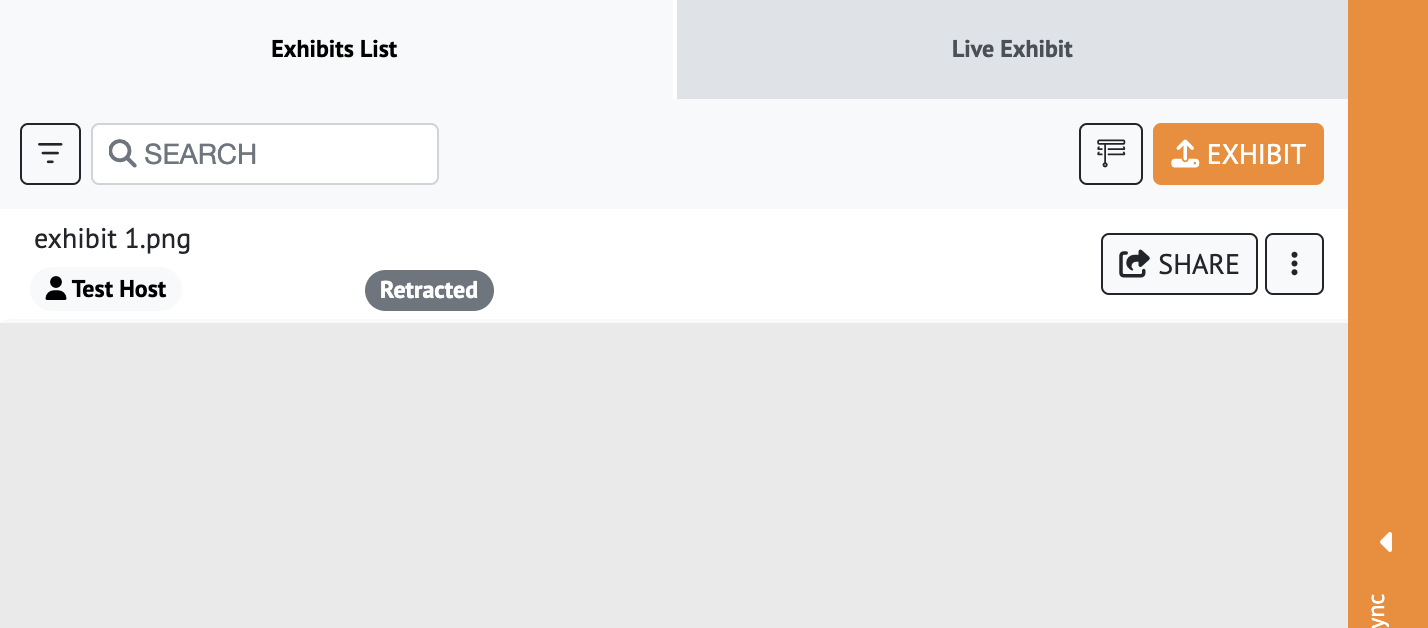
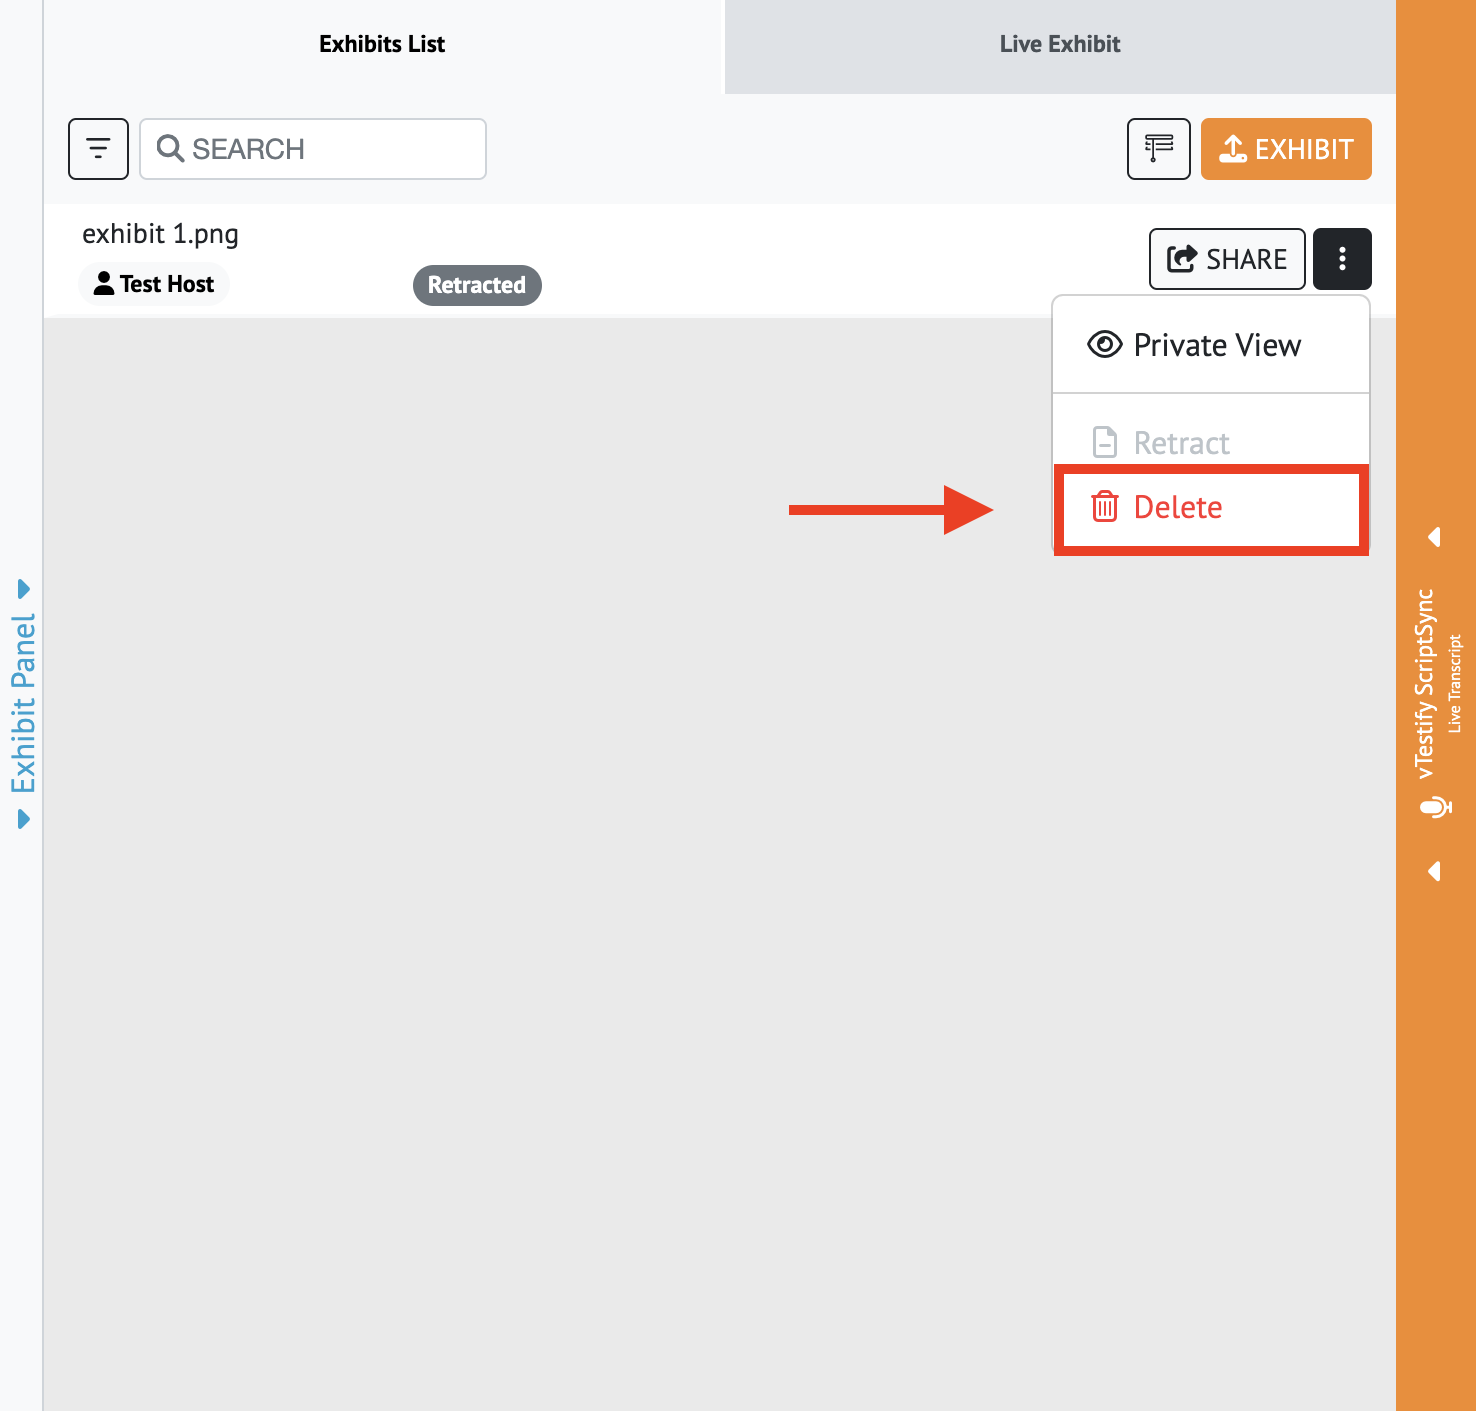
Once an exhibit has been retracted, it will show “Retracted” in your exhibit list
The exhibit will no longer appear for other users
Click the 3 dot vertical ellipsis and select “Delete” to delete the file
Once a deposition has ended, no additional exhibits can be introduced
Exhibits will be automatically copied over to the following deposition if the deposition cases are linked.
For more information please see How-to Use Case Management
Once the Exhibit has been shared, you must close the shared document before it can be Retracted
All exhibits that were shared during the deposition will be available for review and download after the deposition has ended with access granted through the scheduling party.
All unshared files from your deposition will not be shared with the other parties and are not a part of the record.