How-to Use the Annotation Tools Within the Live Exhibit Tab
Quick Take: This article helps navigate the annotation tools within the “Live Exhibit” tab
Instructions
All Attendees with a verified account can Share an Exhibit
The Attendee that Shares the Exhibit will be known as the Exhibit Owner and can Grant Control to other Attendees and the Witness to annotate the Exhibit.
Guest attendees will not be able to upload exhibits until a verified account is created
The Host and Co-Host of the deposition will always have Full Control over the Exhibit.
When an exhibit is shared, attendees will not have annotation rights until they have been granted by the Exhibit Owner, Host or Co-Host

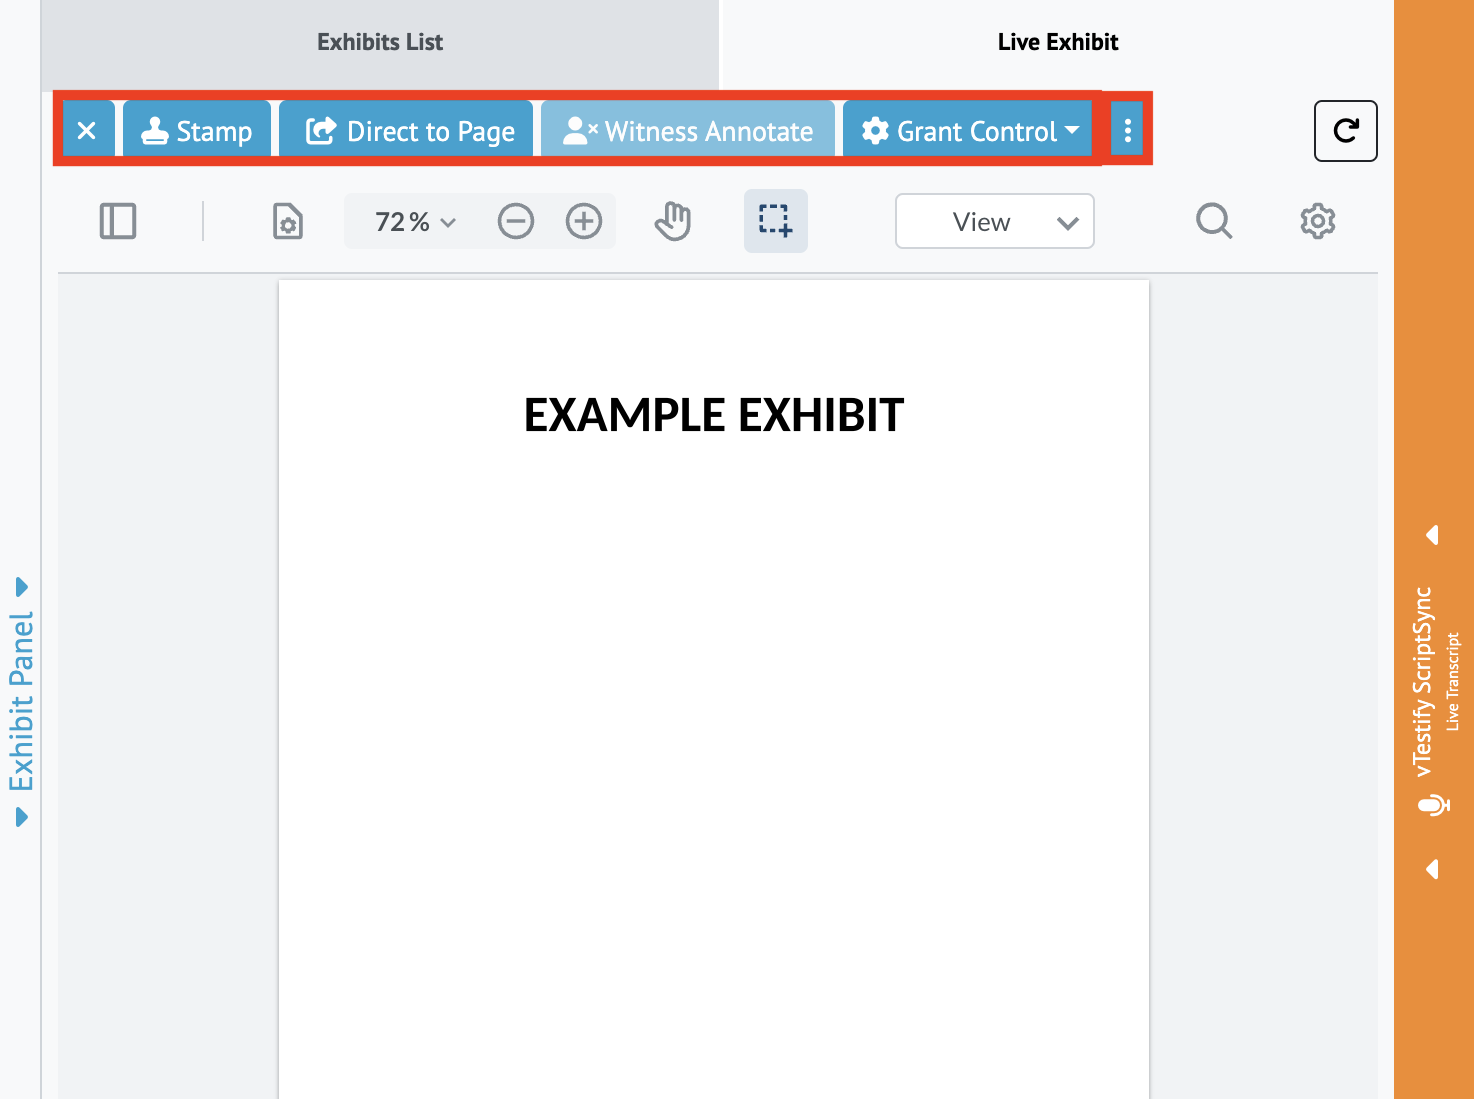
2. The ‘Exhibit Panel’ gives you different options for navigating an Exhibit
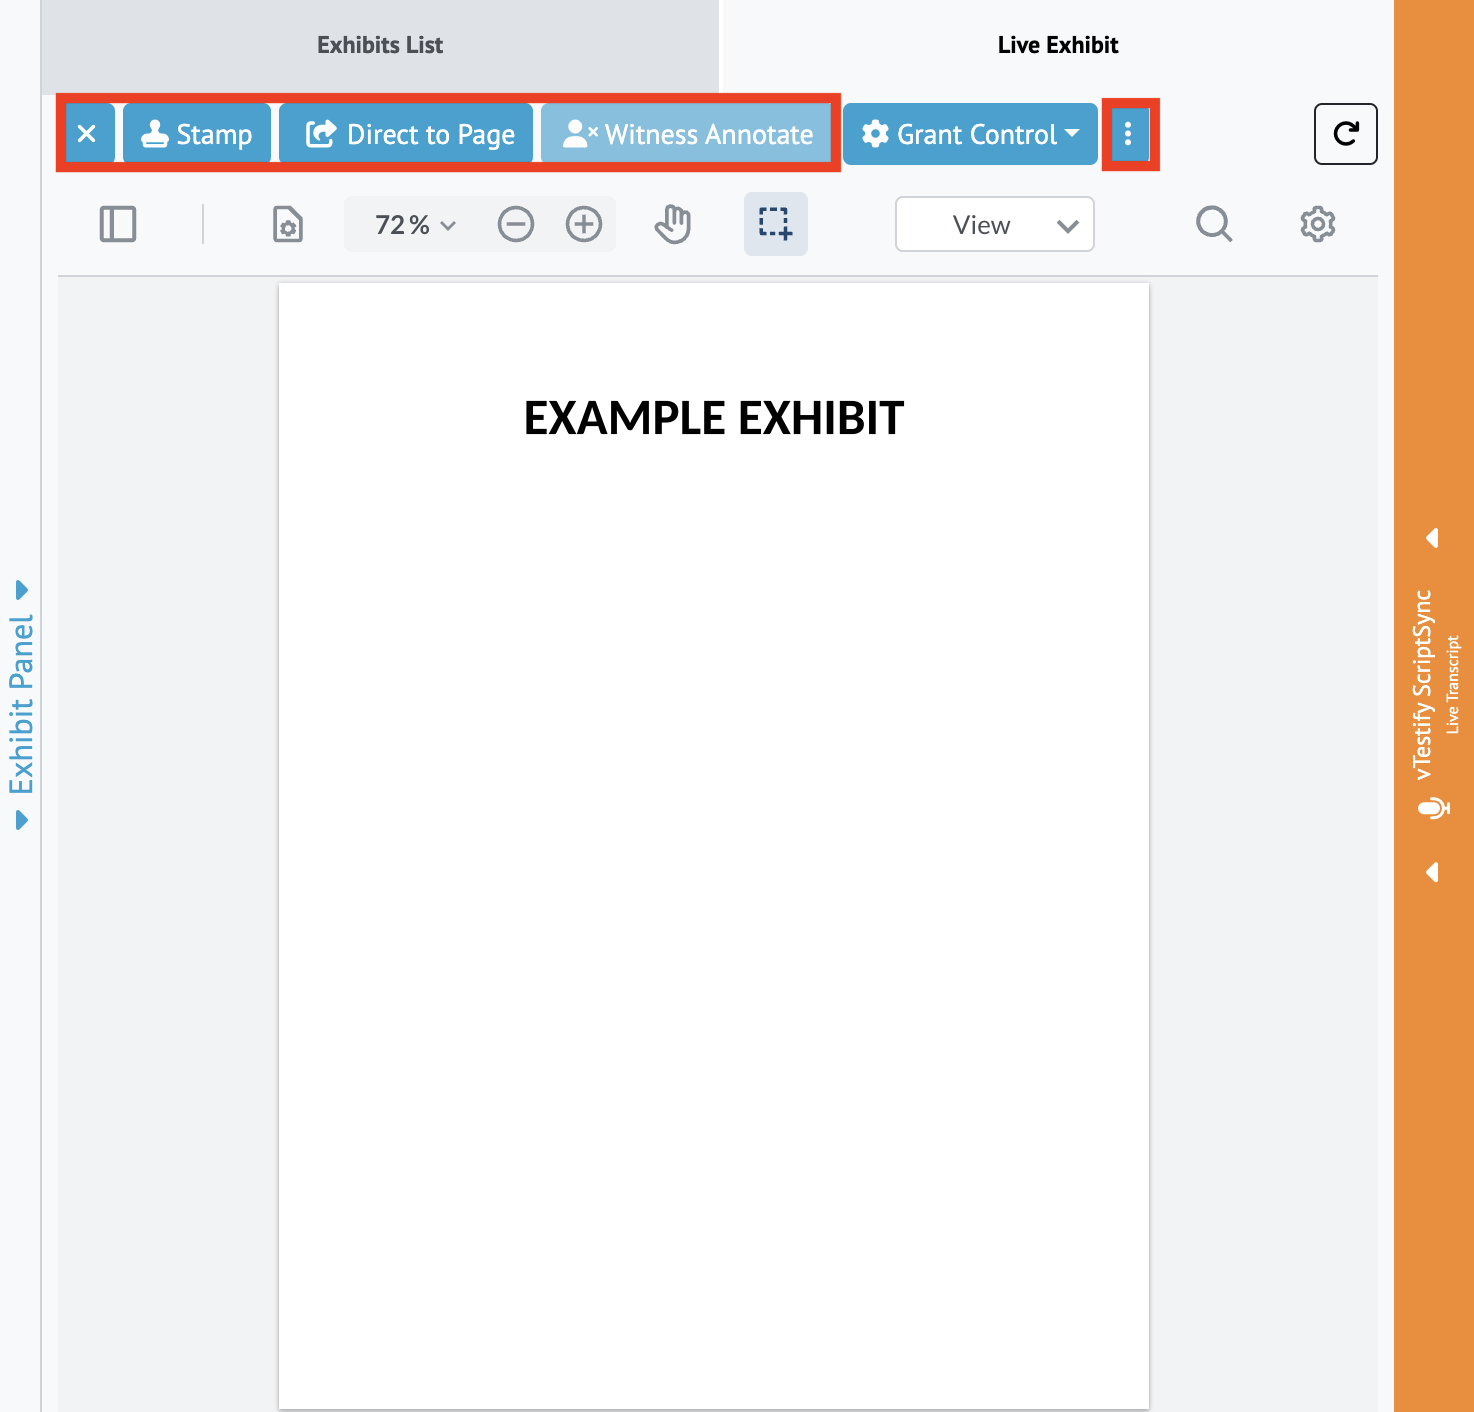
a. The “X” Button allows you to close the Exhibit for all users
b. The “Stamp” button allows you to Stamp the Exhibit
i. The Stamp will only appear on the first page of the uploaded document
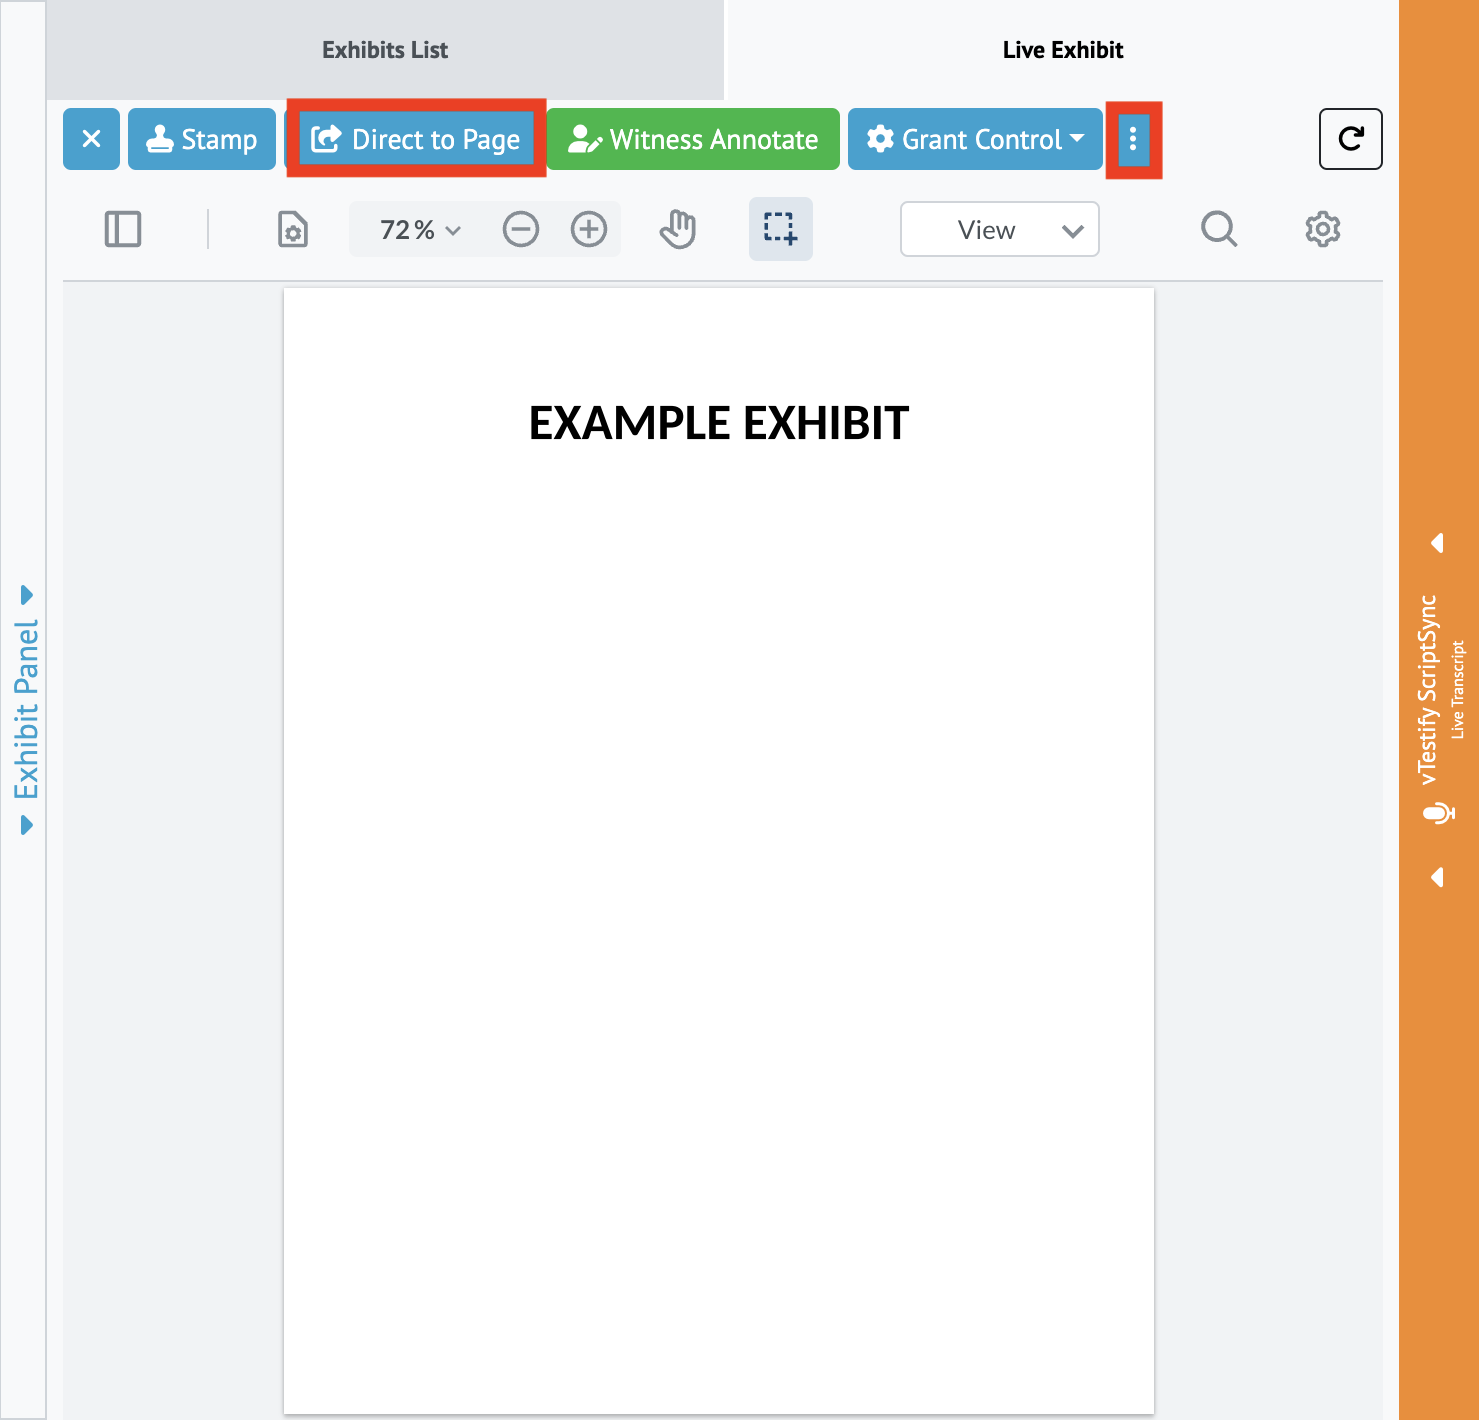
c. The “Direct to Page” button allows you to bring all of the attendees to a selected page in a multi-page document
d. The “Witness annotate” button gives the Witness permission to annotate the Exhibit
e. The “Grant Control” button allows the exhibit owner to give permission to other attendees in the deposition
i. Only the Exhibit Owner, Host, and Co-Host, may grant the Witness annotation rights
f. The ‘3 dots’ next to the Grant Control gives the ability to “Download” the Exhibit if you have been given exhibit access
3. Once permissions have been given, attendees will have access to annotate the exhibit
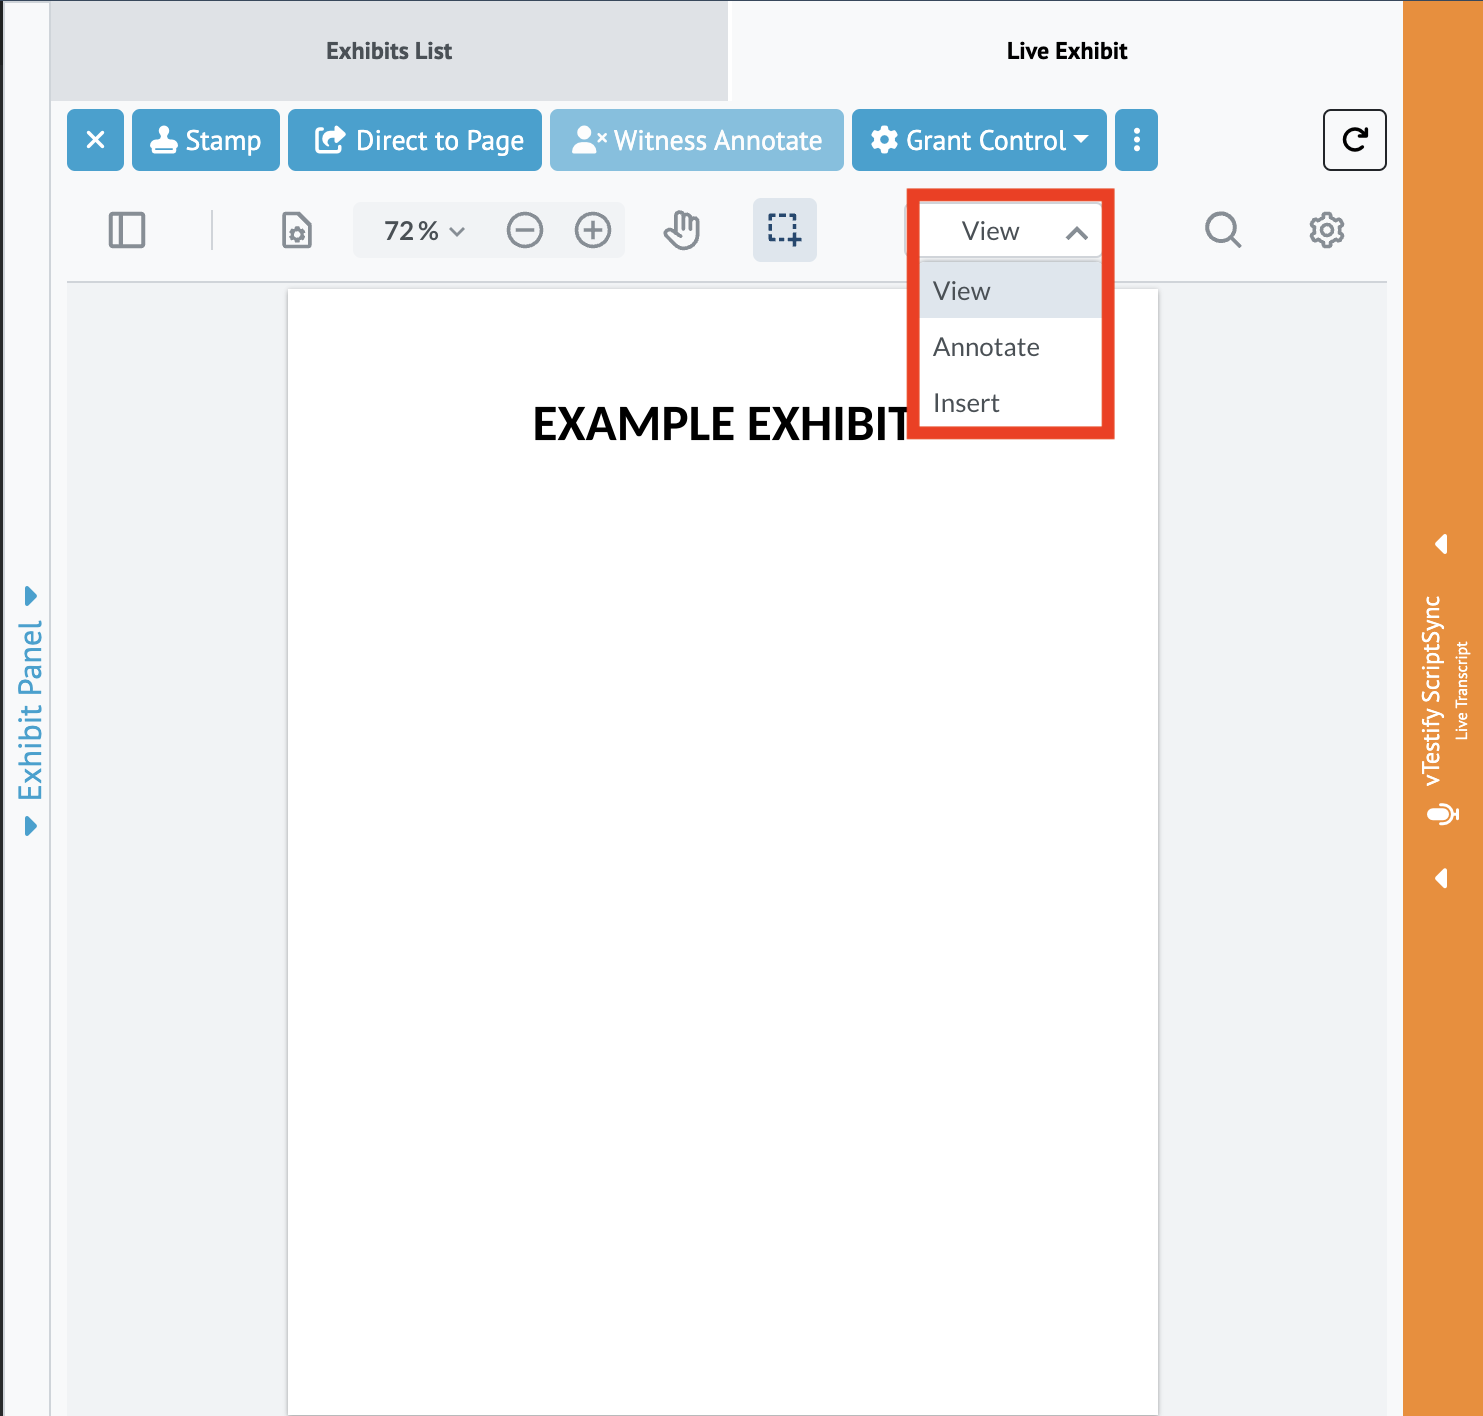
Exhibit Control
2. As the Witness, you will have limited functionality when annotation controls have been granted. the witness will have the ability to annotate when the Exhibit Owner, Host, or Co-Host gives permission
a. When annotation permission has been granted, the control buttons will be limited to the Witness with only being able to use the “Direct to Page” and the “Download” buttons. The witness will also be able to annotate the exhibit when control has been granted.
4. As an Attendee, you will be able to use all exhibit functions, except the “Grant Control” button
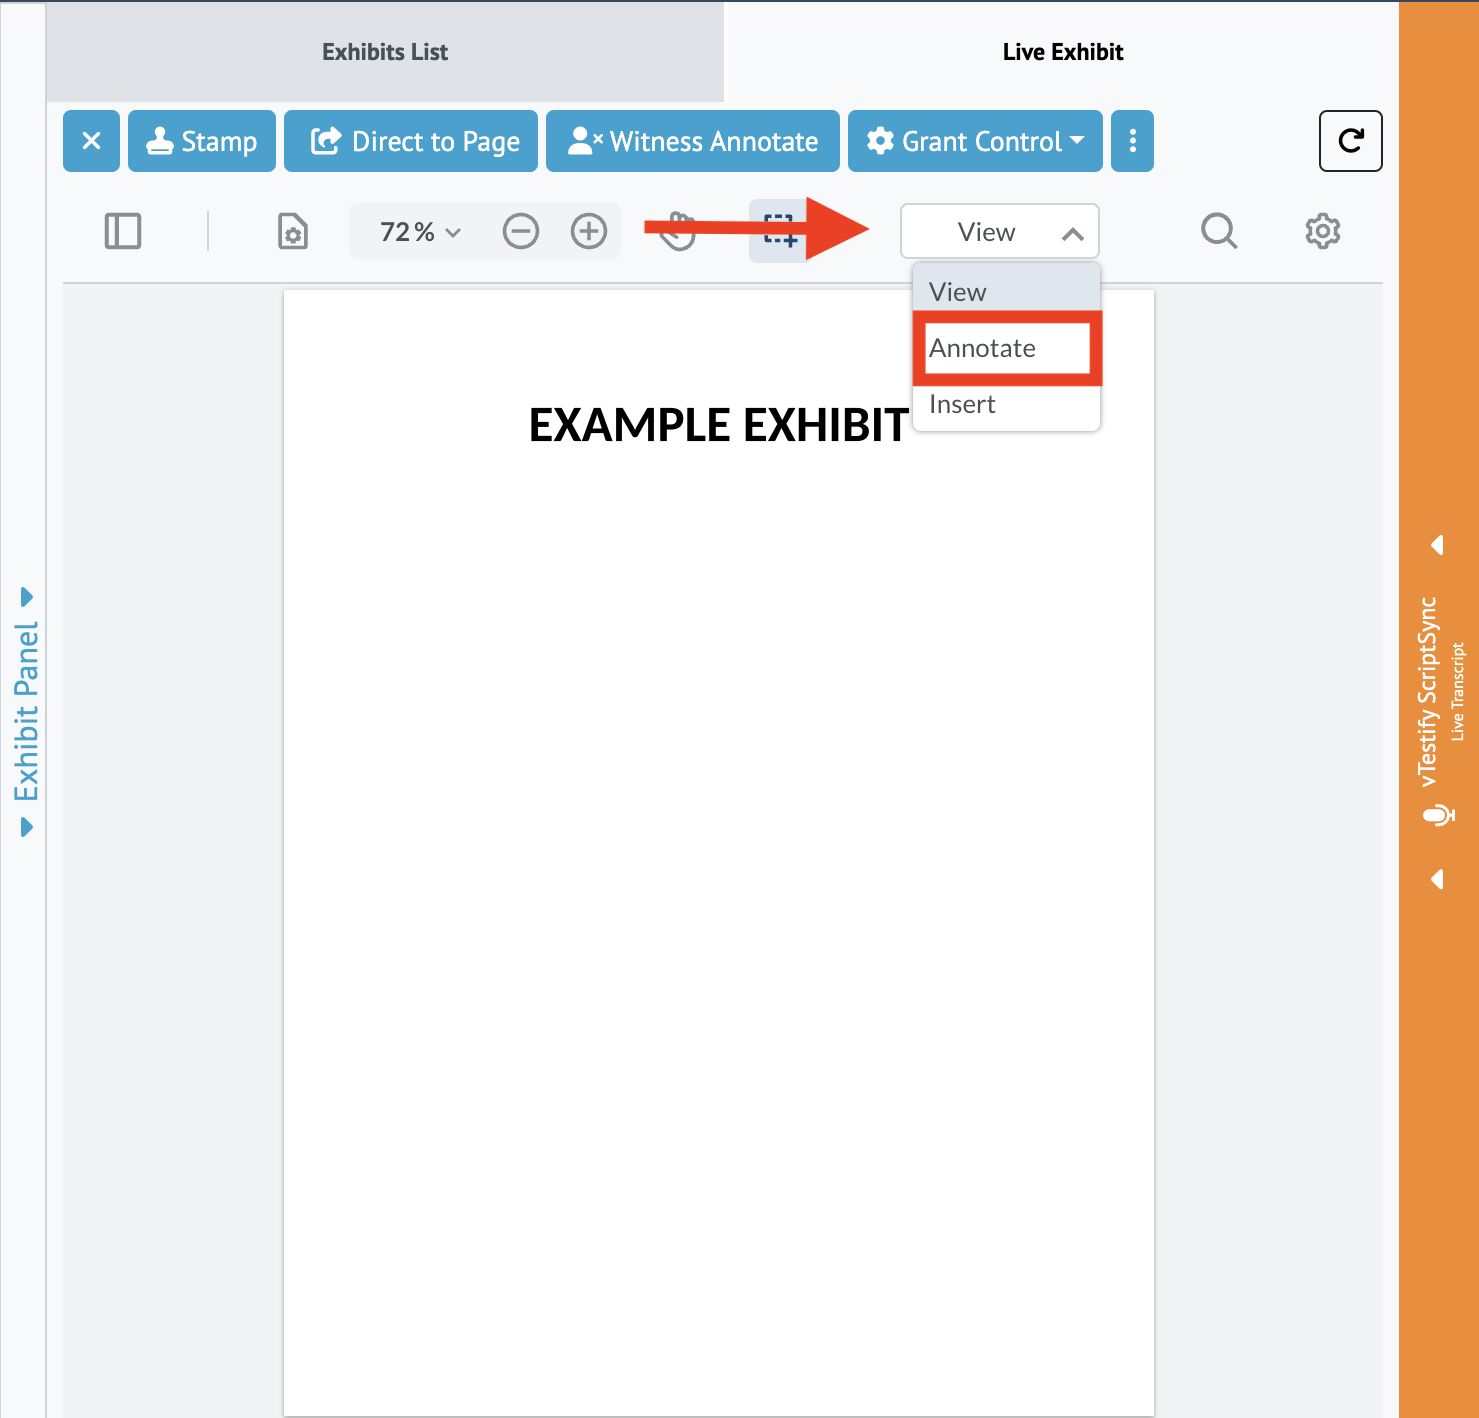
5. To annotate the Exhibit, select 'annotate' from the menu.
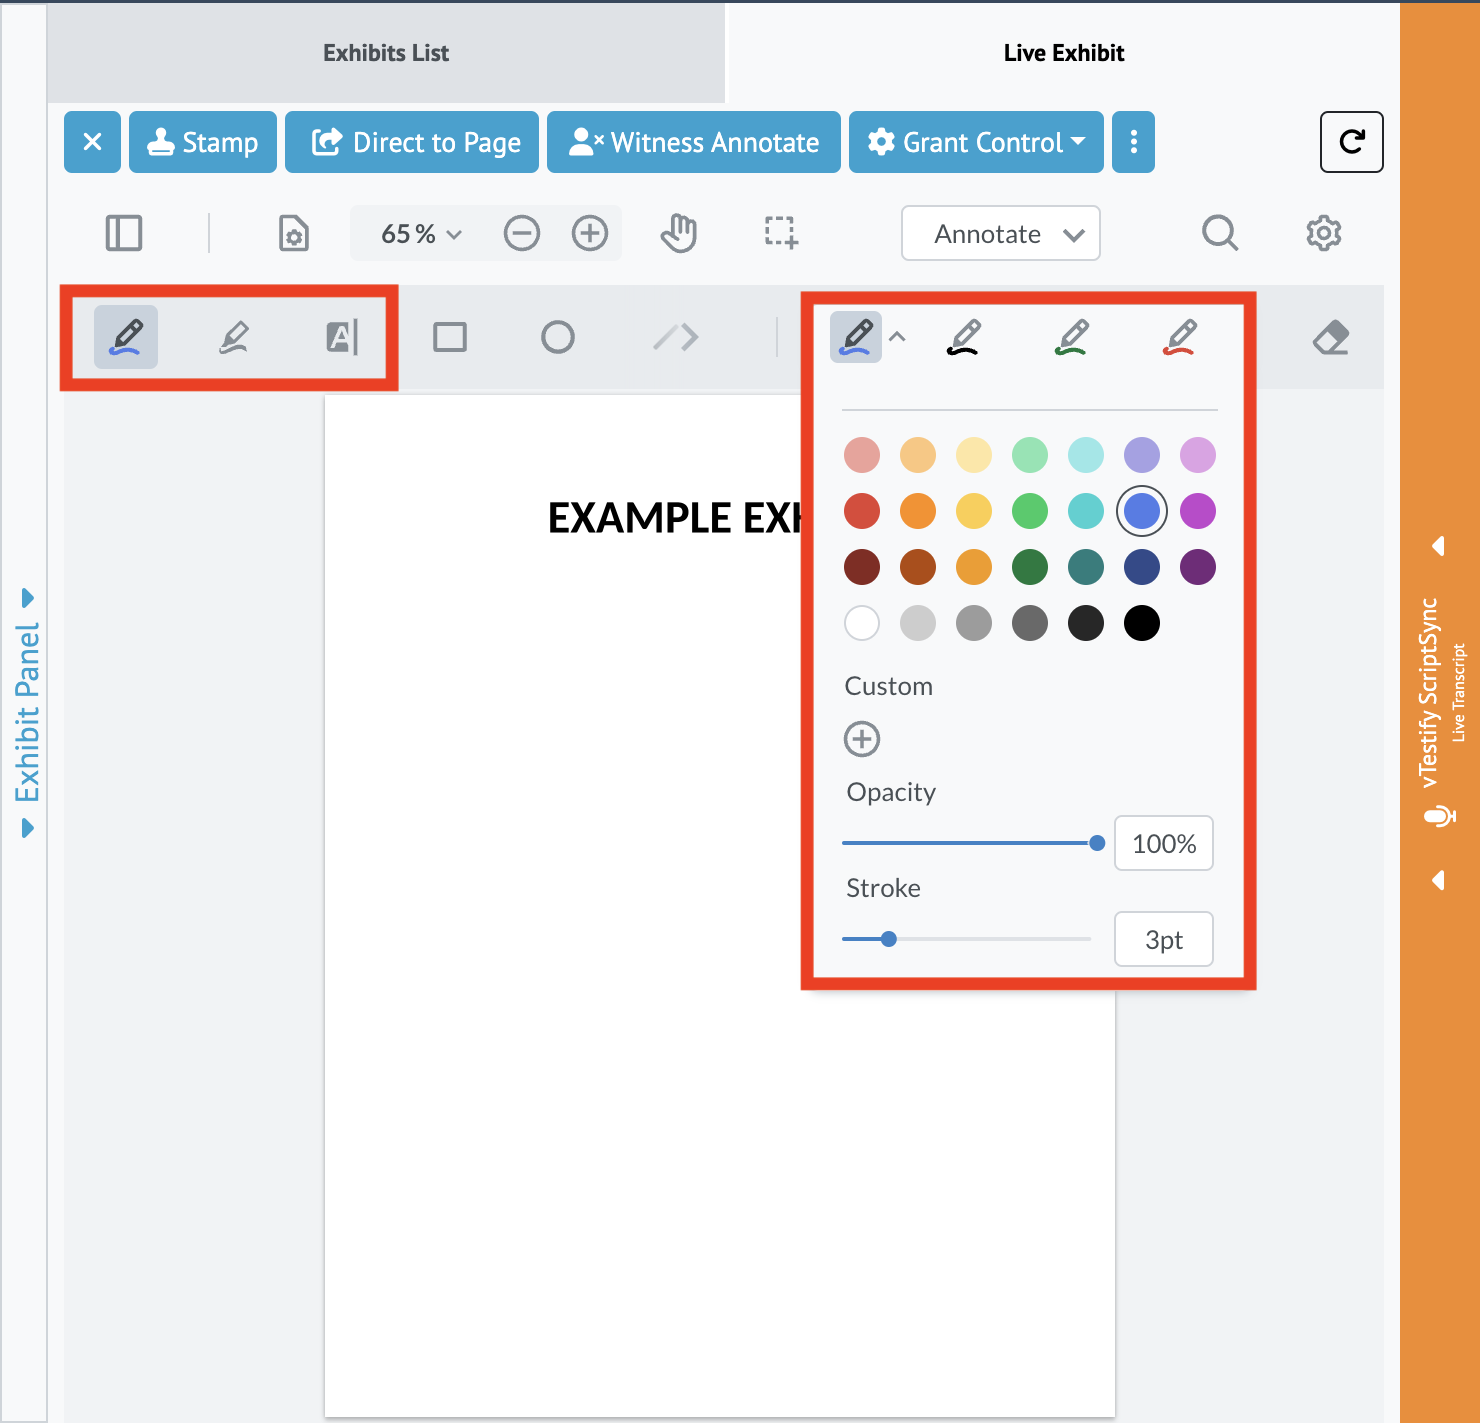
a. Shown on the left within the picture below are the three main annotation tools. The freehand “pen” tool, freehand highlighter, as well as the text (OCR) highlighter. On the right side are all the color options for the annotation tools. In this case the freehand “pen” option is selected. You can also change the size of the stroke along with the opacity.
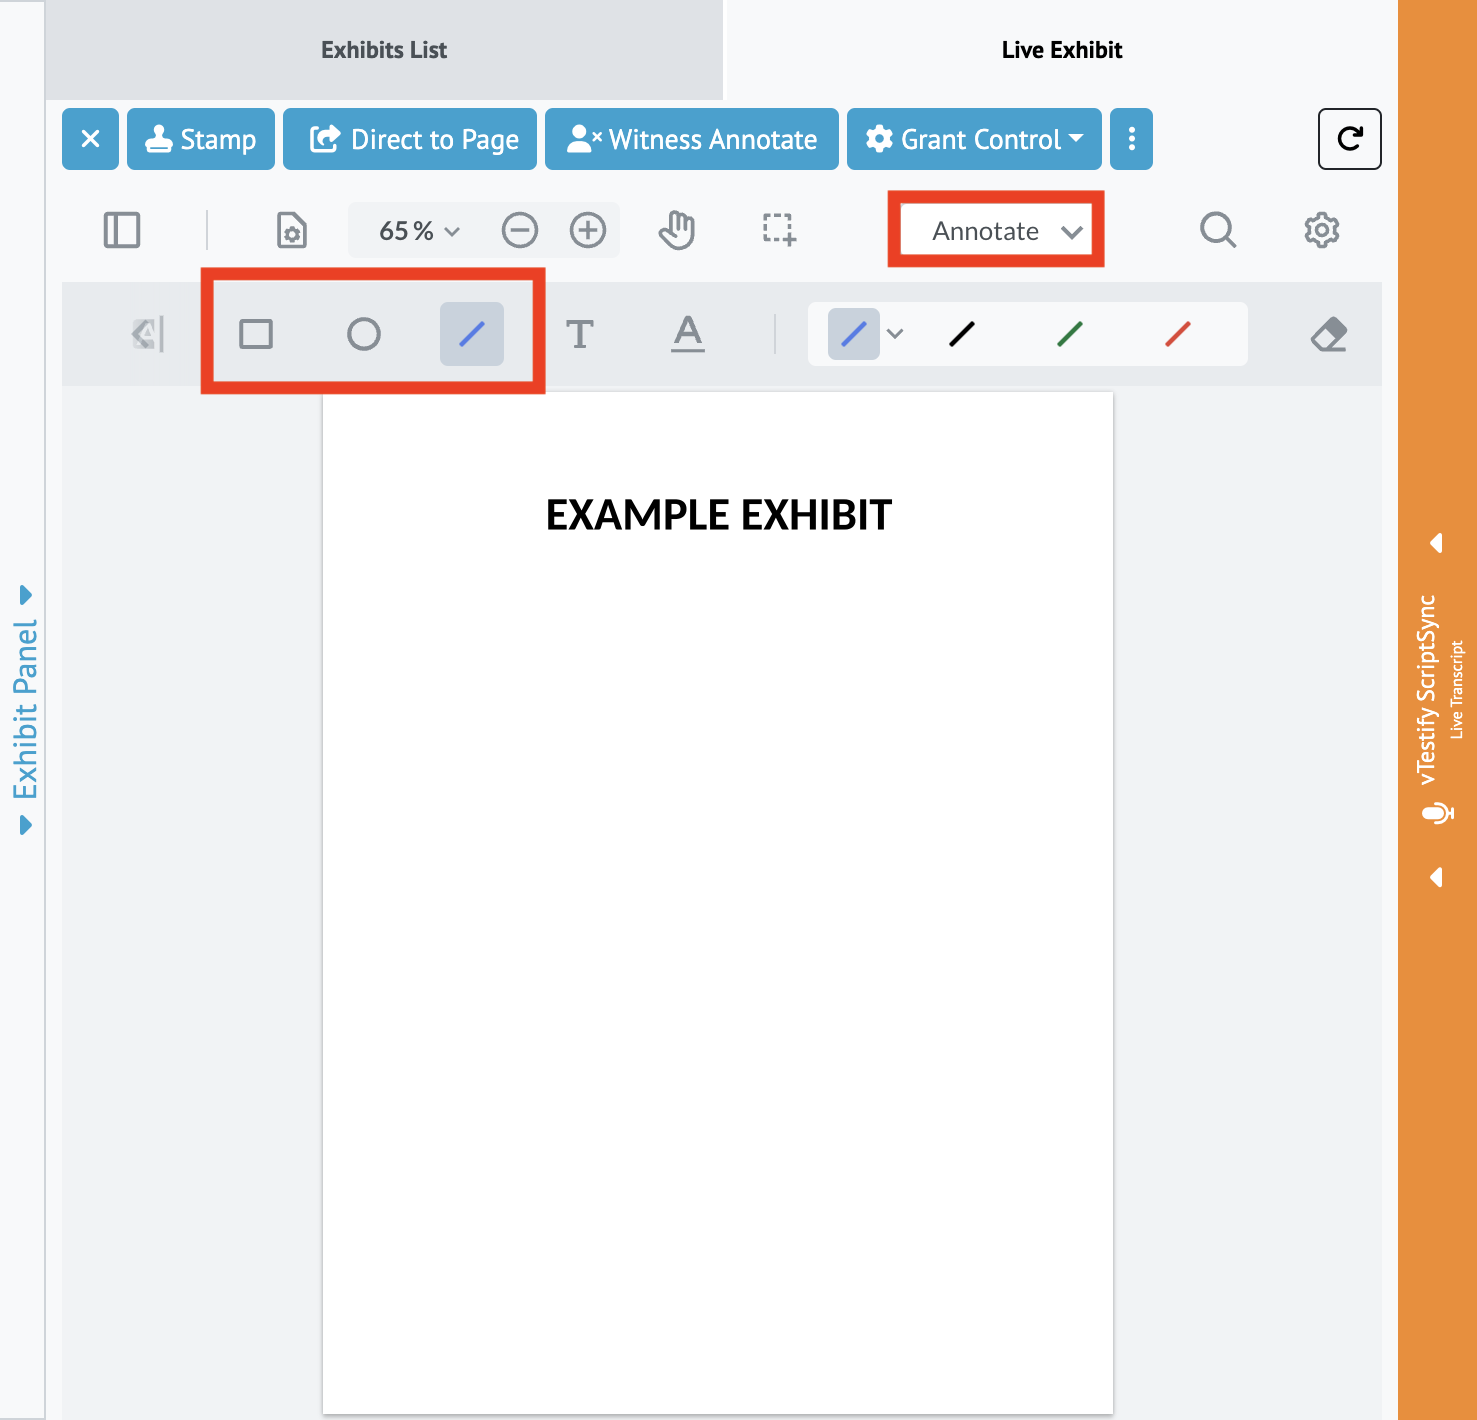
b. The option to use shapes is available and is also located in the “Annotate” menu. This allows you to add preset adjustable shapes to your exhibit. (The shapes available to use are rectangles, circles, and the line tool.)
Grant Control
As an Exhibit owner, you will have full exhibit control and the ability to grant permission for all of the attendees to annotate the shared Exhibit.
For more information on exhibit uploading, please see How-to Upload an Exhibit Before and During a Deposition
For more information on Exhibit Permissions see: How-to Use Exhibit Permission Controls