Deposition Room Introduction (Attendee)
This article explains how to navigate the Deposition Room as an attendee within the virtual deposition platform.
Quick Take: Attendees have access to a wide array of features that are explained below in detail.
There are multiple ways to join a deposition, please see this article for more information: How to Join a Deposition
Instructions
Start by logging into the platform
Once you have logged into your account, you will be directed to the Dashboard
This is where you can view all depositions and demo depositions you've been invited to
If your deposition is not listed, please reach out to the scheduling party
To join the deposition, click “Join Now”
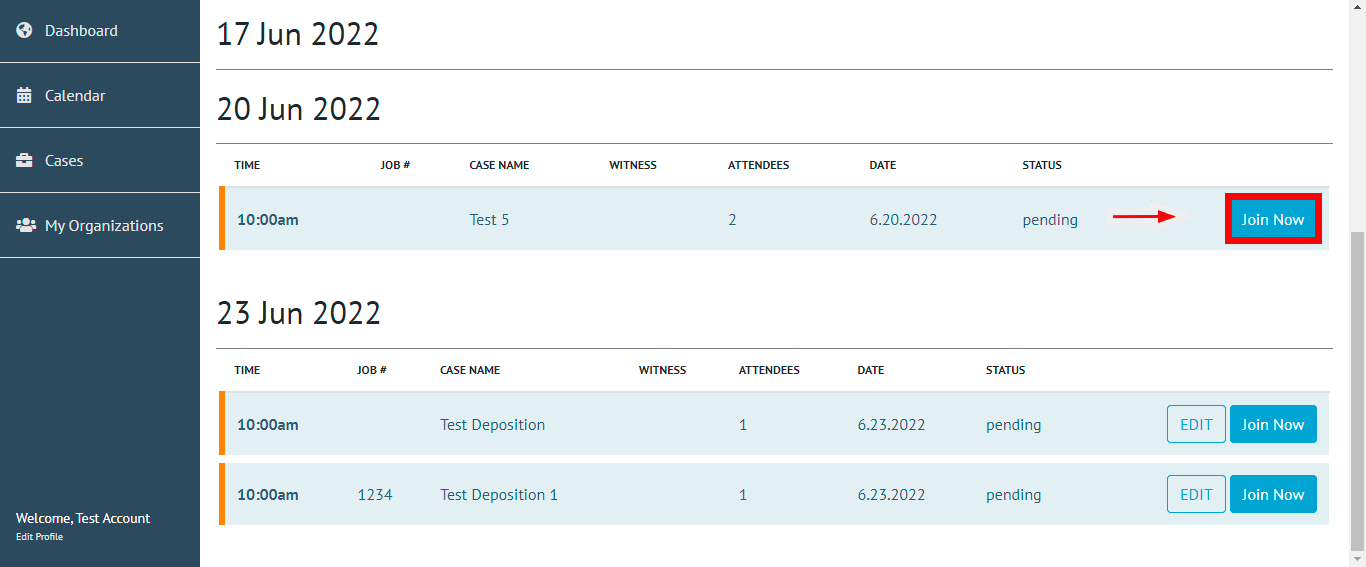
PLEASE NOTE - By clicking “Join Now”, the platform will always automatically direct you to a Connection Test (Pre-Call) before entering the Deposition Room.
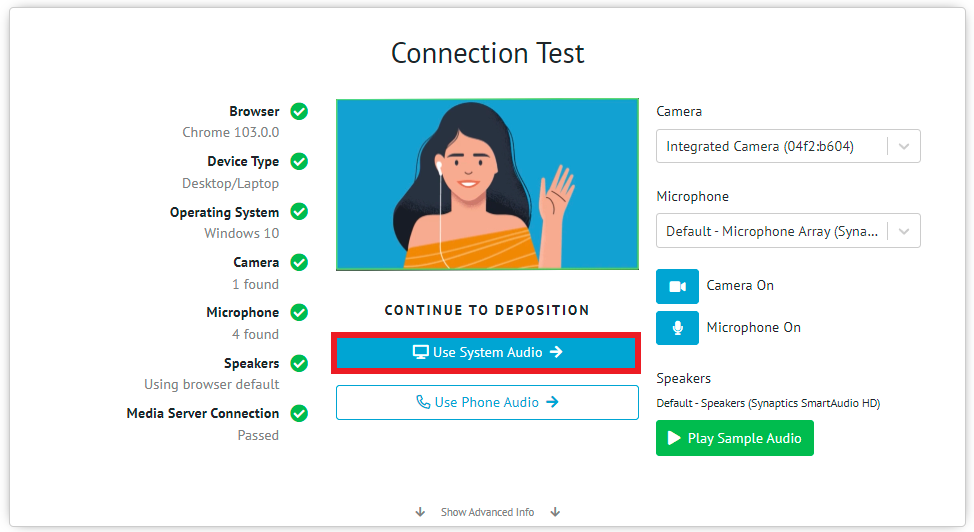
On the Pre-Call page, you can verify your Camera and Microphone and that your system passed all the system requirements of the platform. Click the blue “Use System Audio” button to join the room using your computer's system audio.
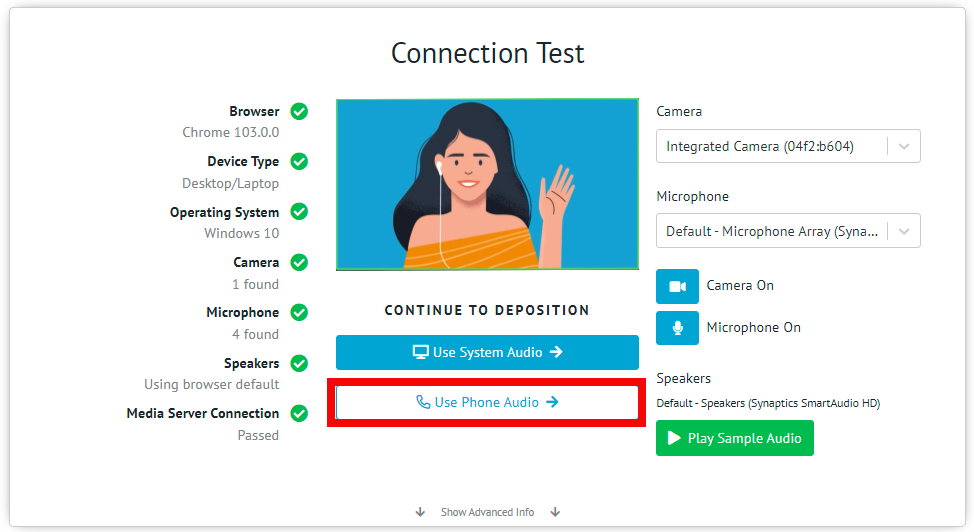
Choosing “Join And Use Phone For Audio” will allow you to join the Deposition with your mic muted as well as your Speakers disabled, and drop the requirements for your device to have a camera or microphone. Please select this option if you are a Dial-In participant.
You will then be presented with the dial-in phone number and PIN before entering the room.
Once inside the depo room, you will have the option to enable the computer's system audio if you hang up the phone.
After the Connection Test is completed, you may enter the Deposition Room
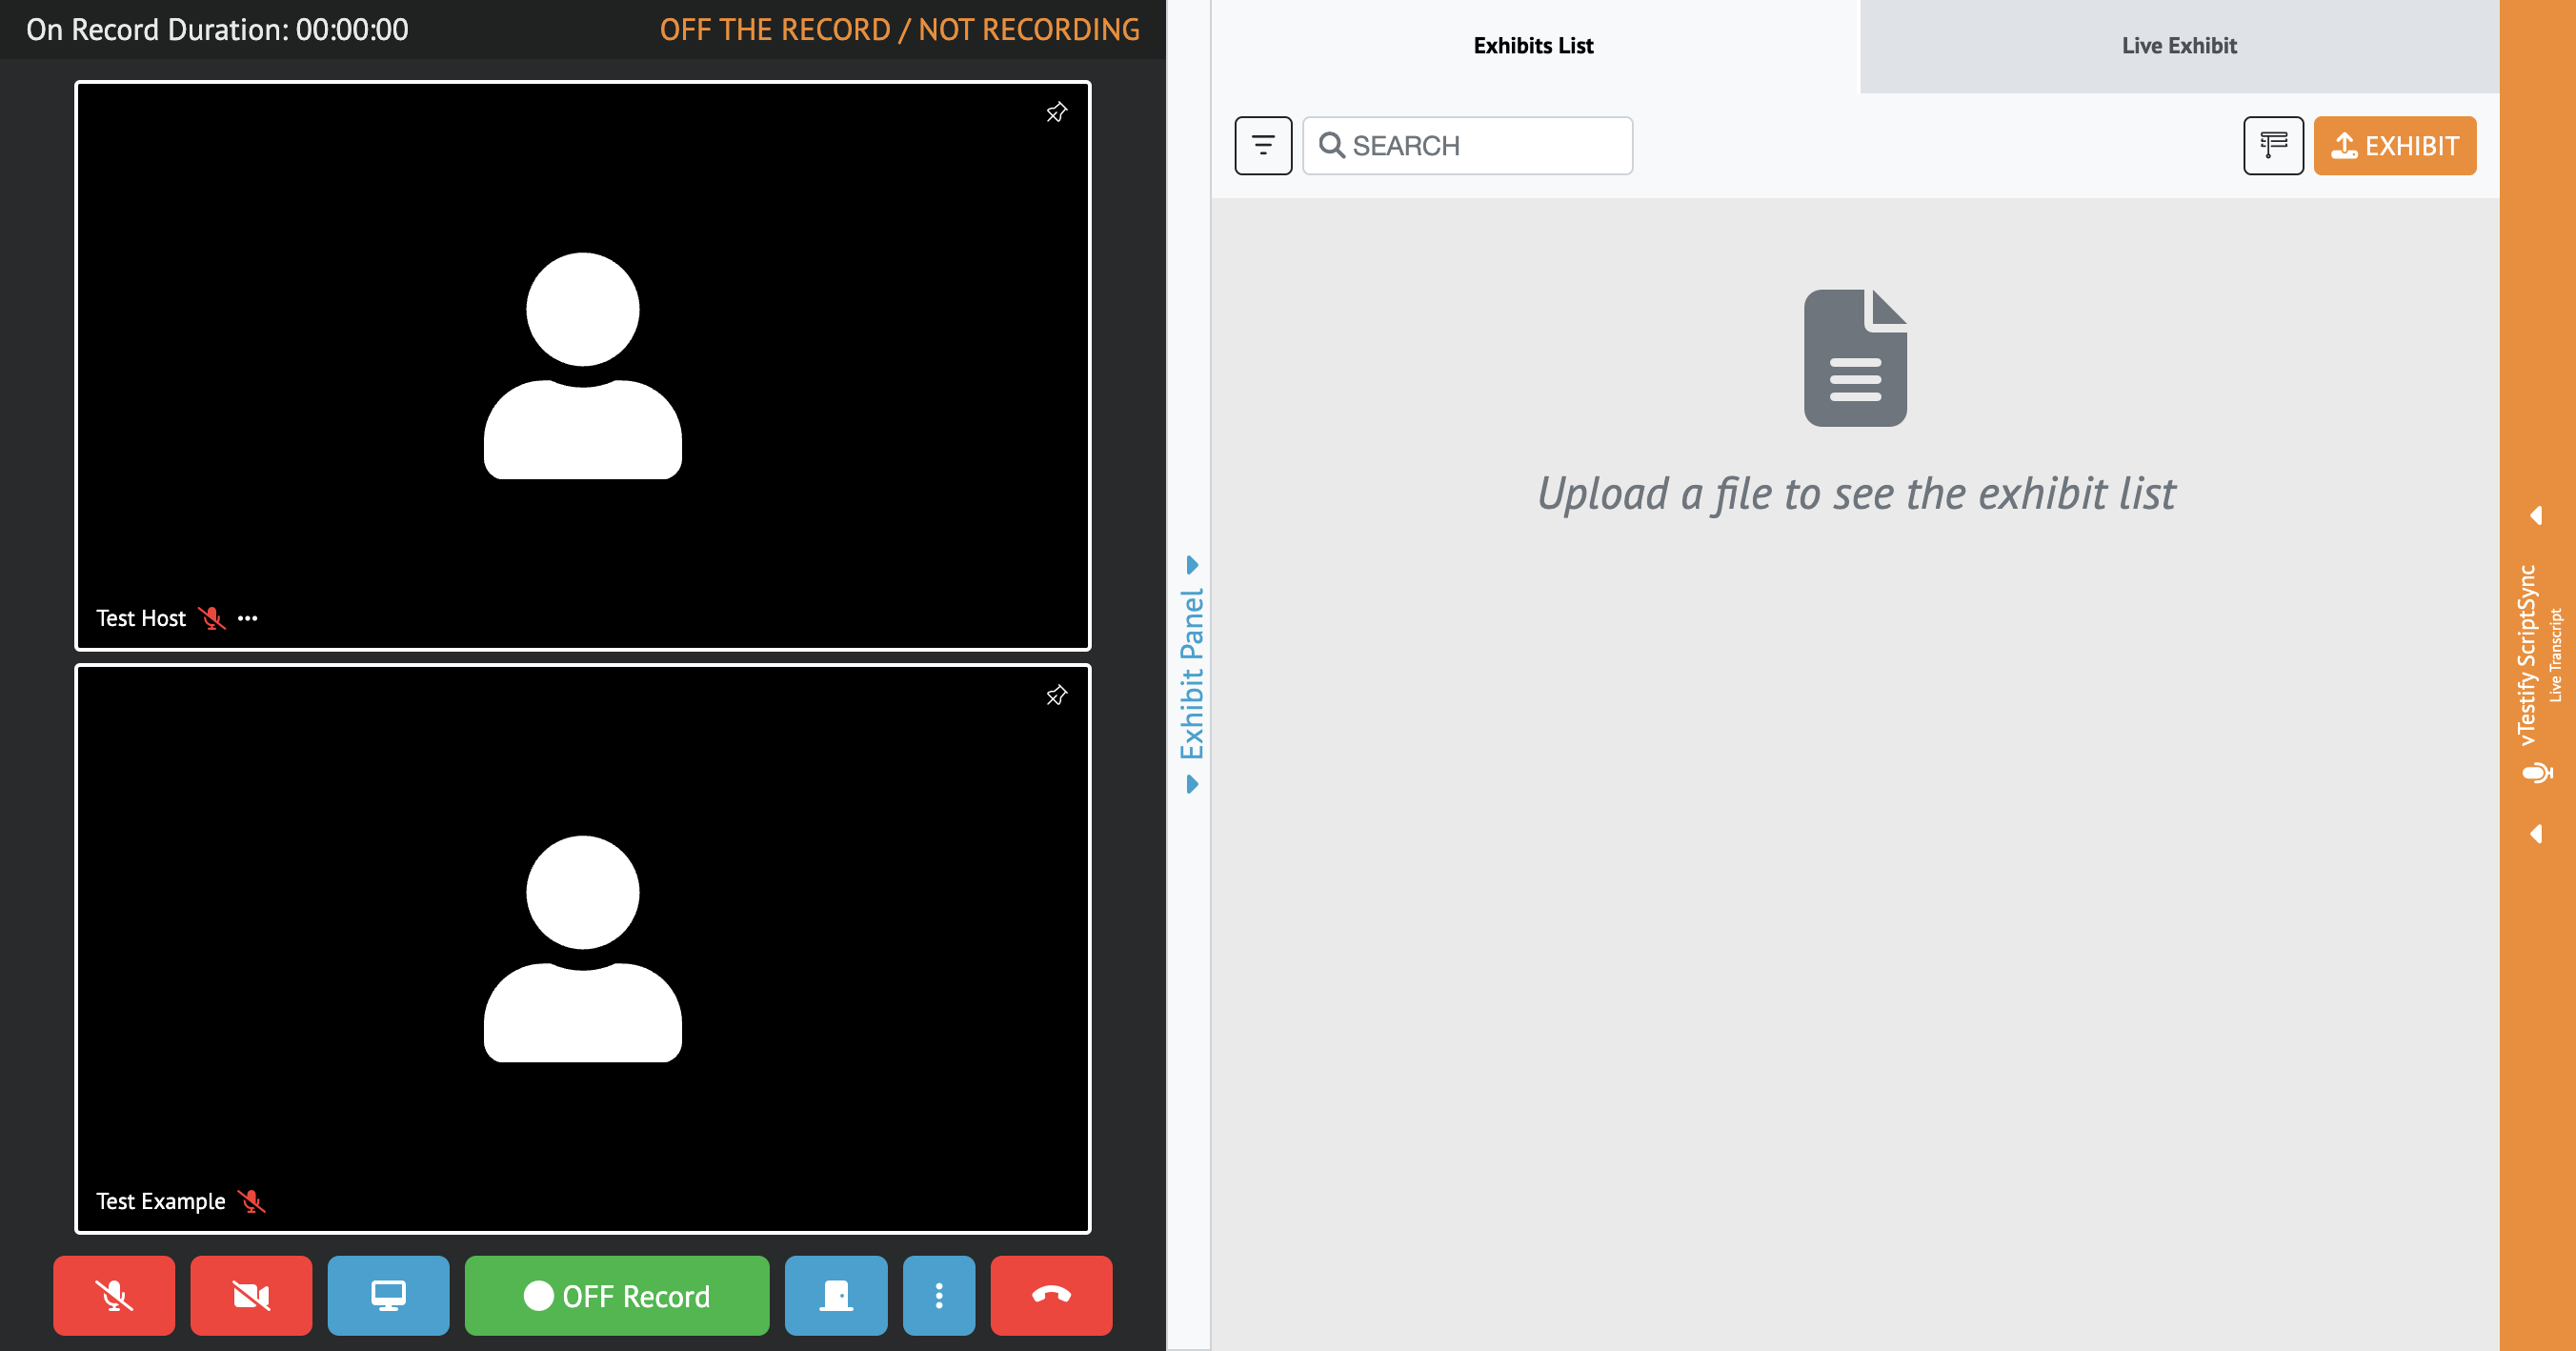
All attendees have the option to use the “Background Blur” Feature. This feature adds Background Blur to the video
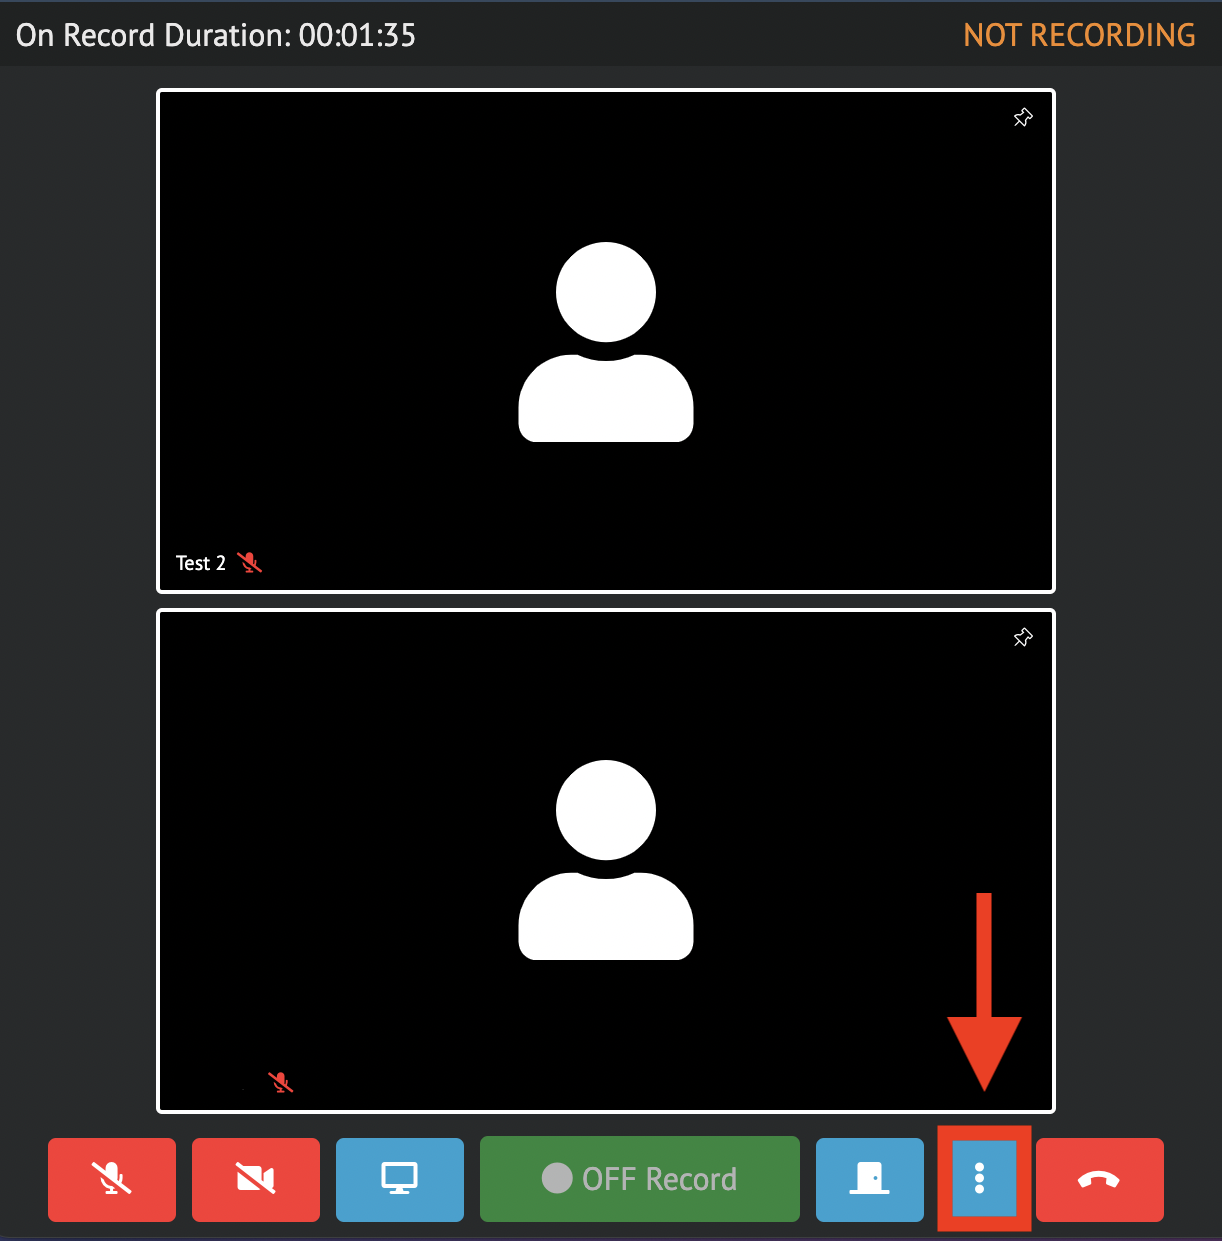
Click on the '3 dots' context menu located next to the 'Red Telephone' icon
Click “Blur My Background”
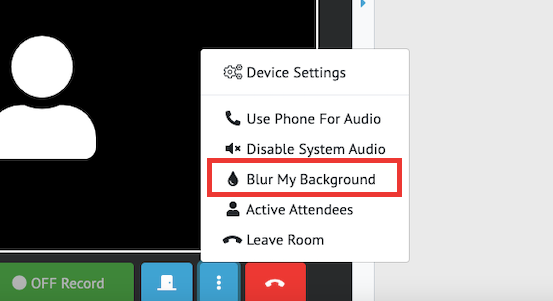
Once in the Deposition Room, there are different features available to you
Within a deposition, attendees have the option to connect through a Dial-In feature
Click on the 3 dots next to the 'Red Telephone' icon
Click ‘Use Phone For Audio’ where you will be able to view the Dial-In Number and the Pin Code
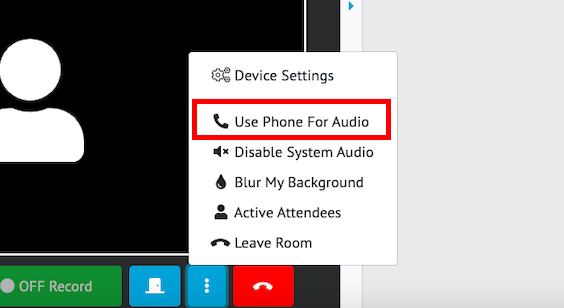
A pop-out window will appear which will provide the dial-in number and PIN as well as a QR code that can be scanned with a smartphone
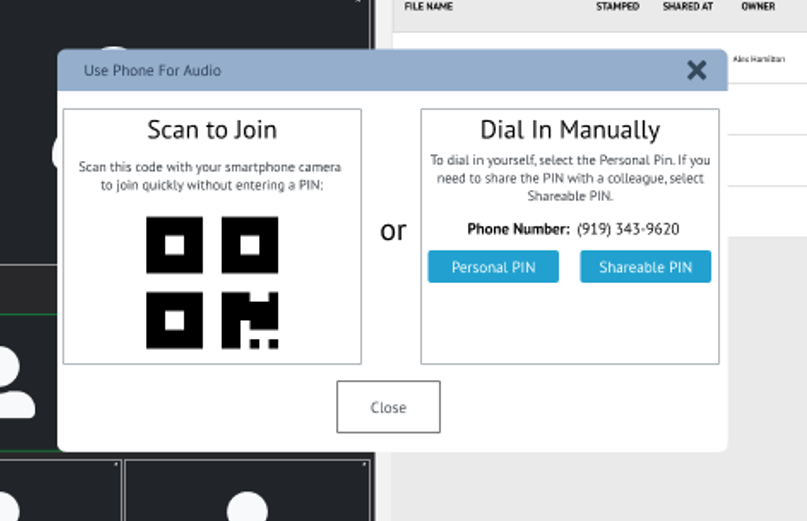
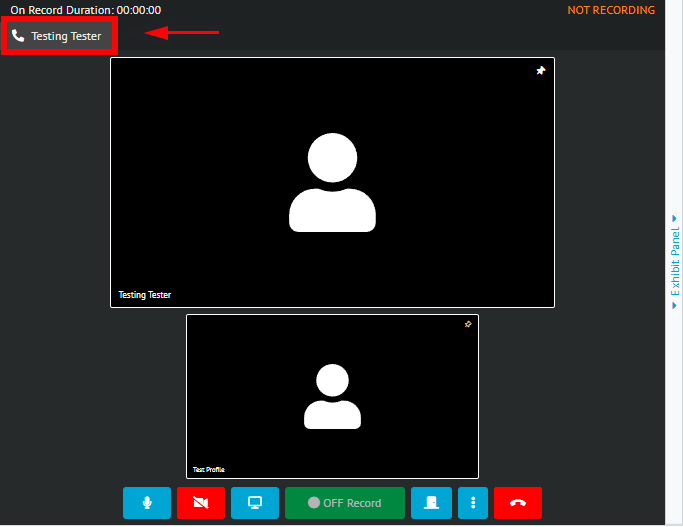
Once you have successfully dialed in, your name will appear at the top of the video screen
Joining ‘Using Phone for Audio’ will automatically mute the mic and the speakers
Once the call has been disconnected, the speakers and mic will automatically unmute
You have the option to use the ‘Pop-out’ Feature. This will allow you to pop out an attendee's video into a separate window. Please see How-to use the Pop-out Feature for more information
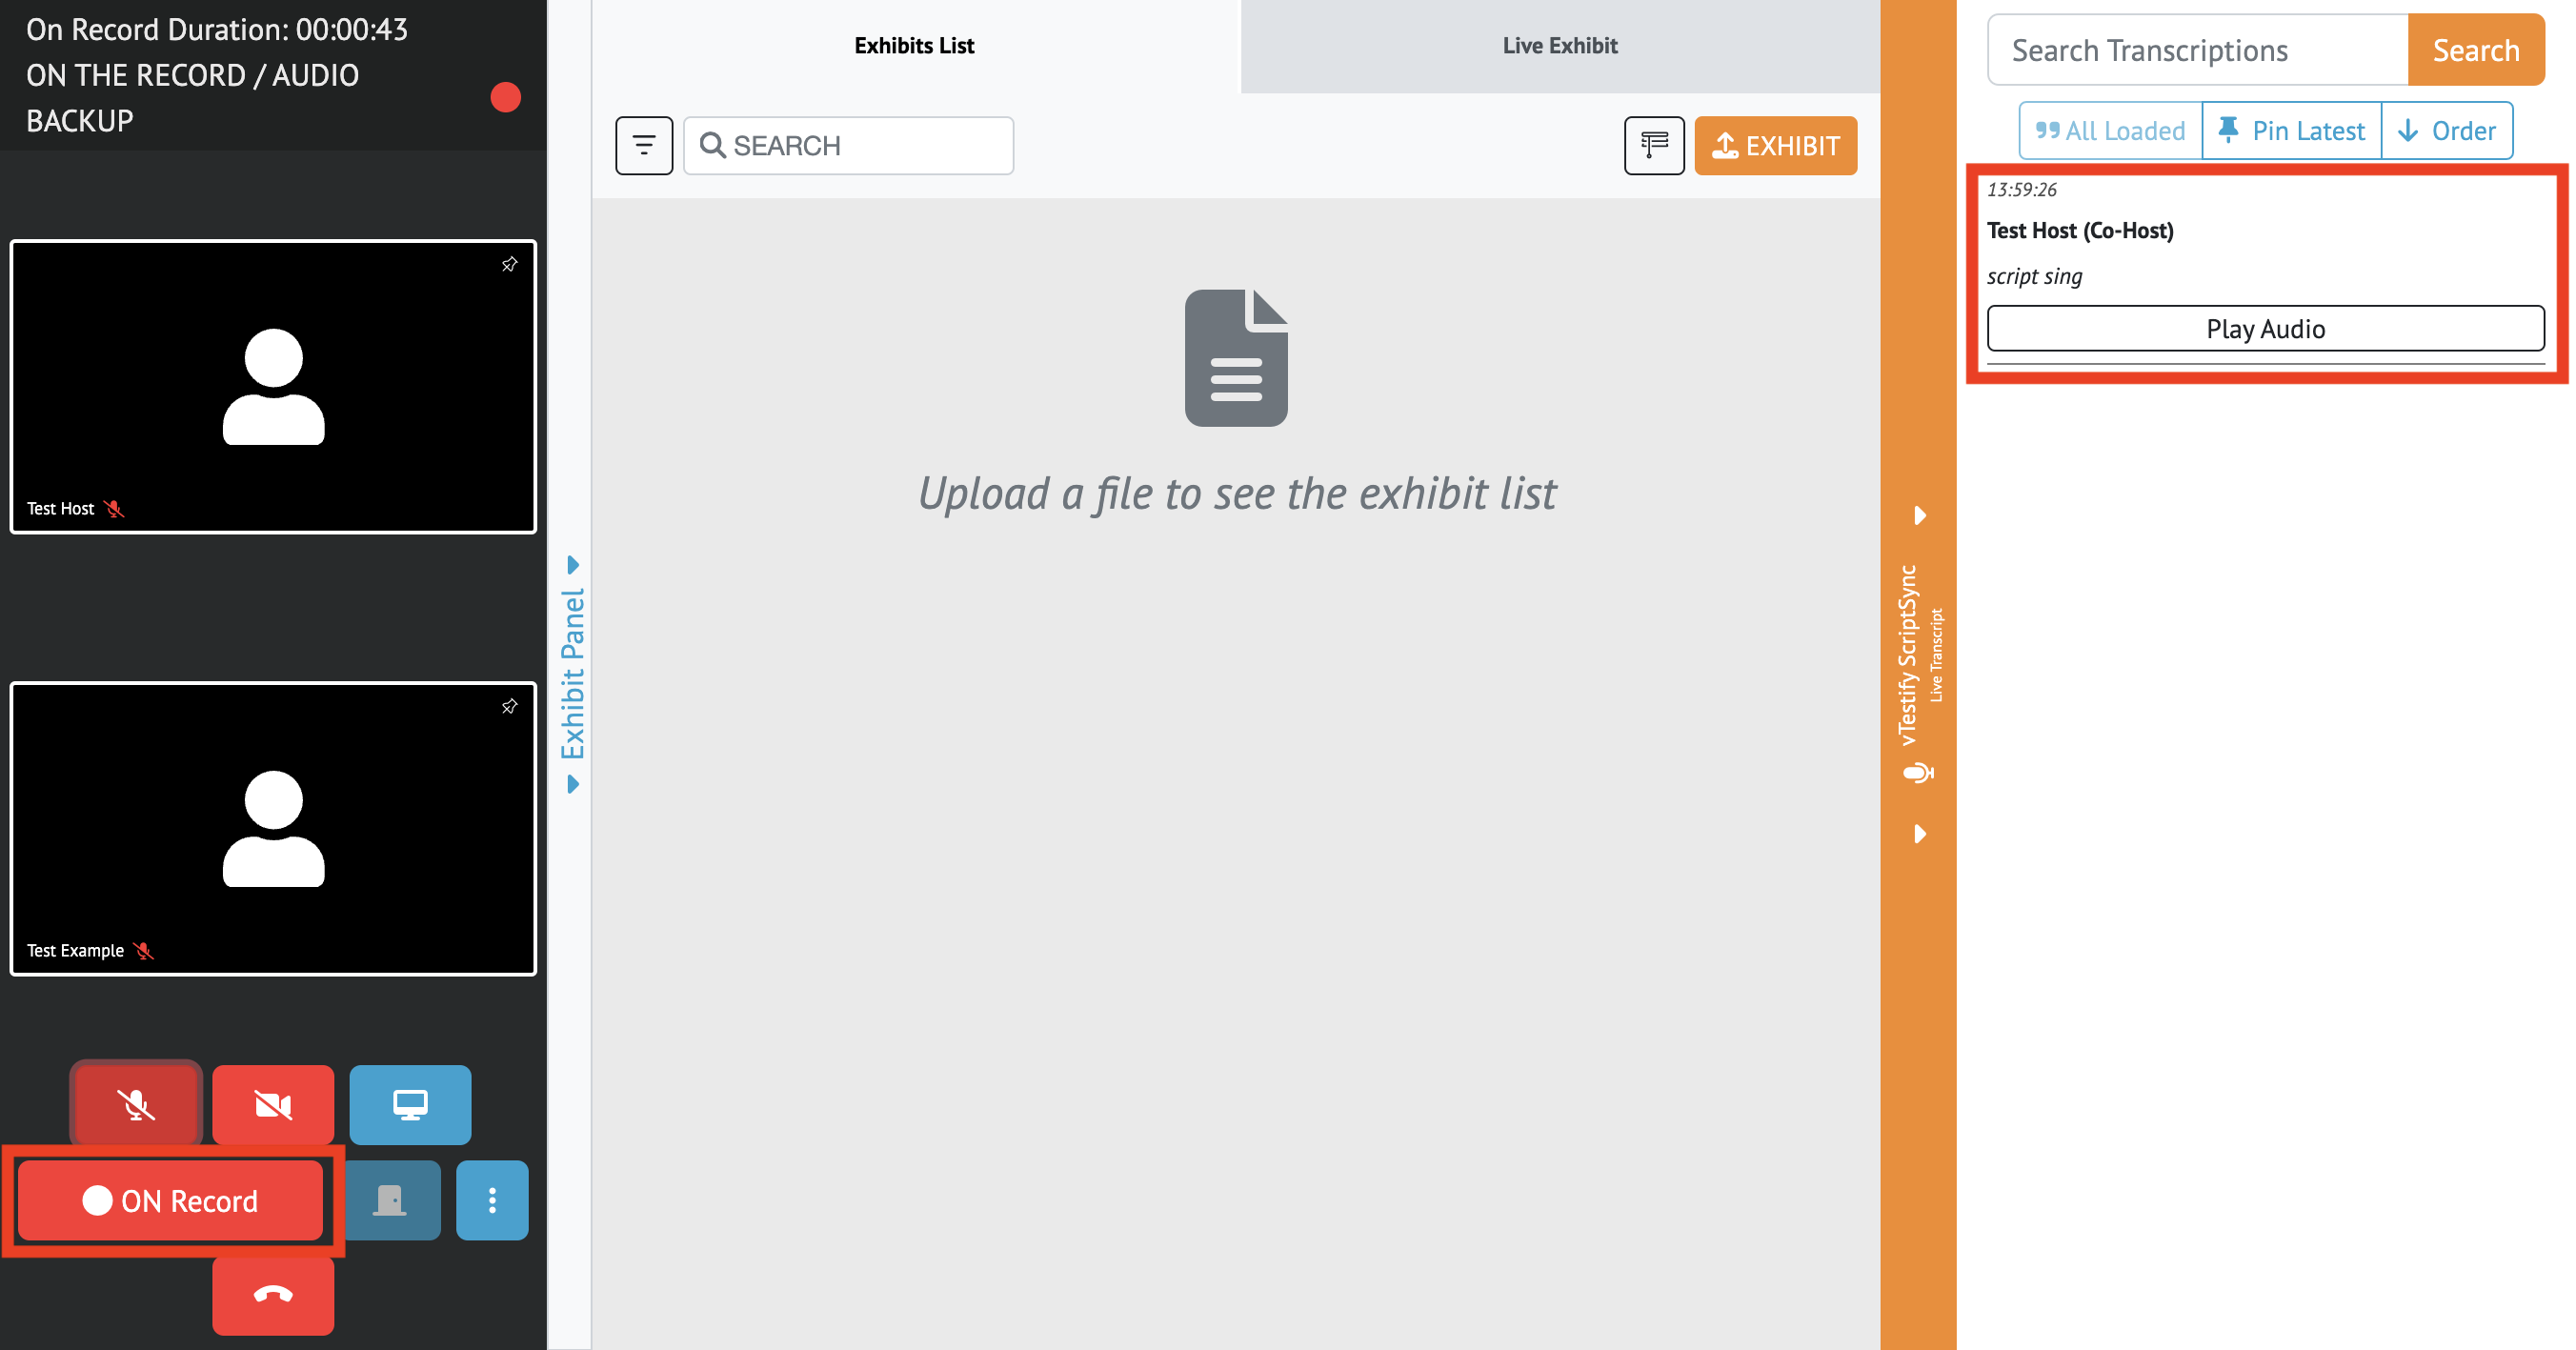
If you’ve been given access to ScriptSync, note that this feature functions only when the deposition is being recorded
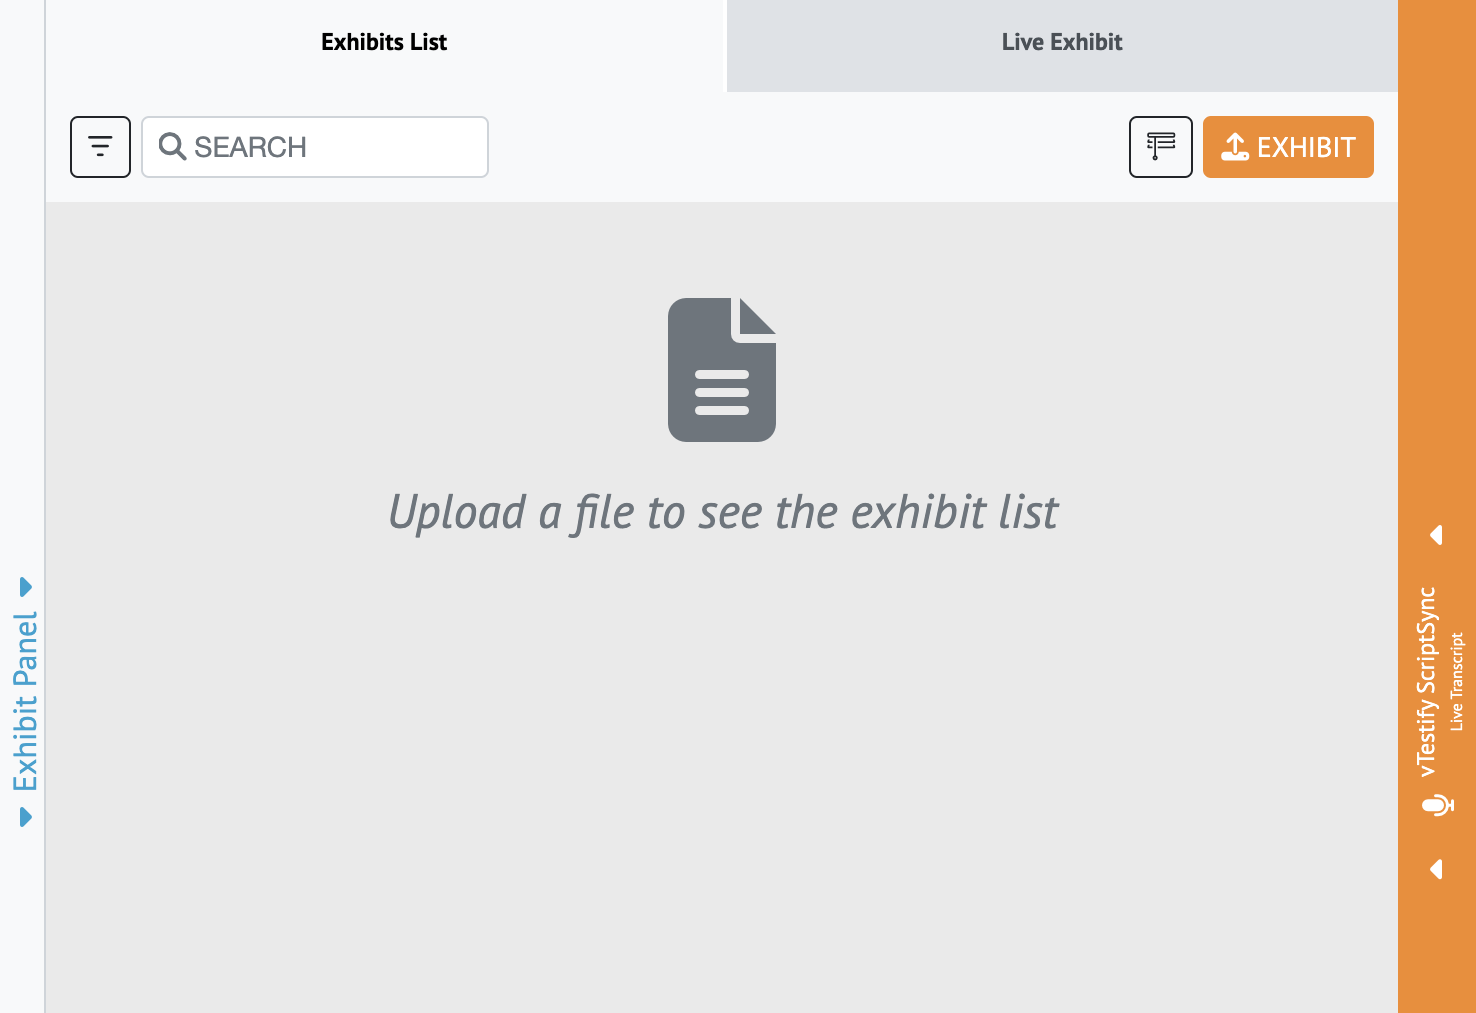
If you have the ability to upload exhibits (Connected Counsel and Video Counsel roles), the supported file types are .PDF, .PNG, .JPG, .XLSX, .DOCX, and .PPTX.
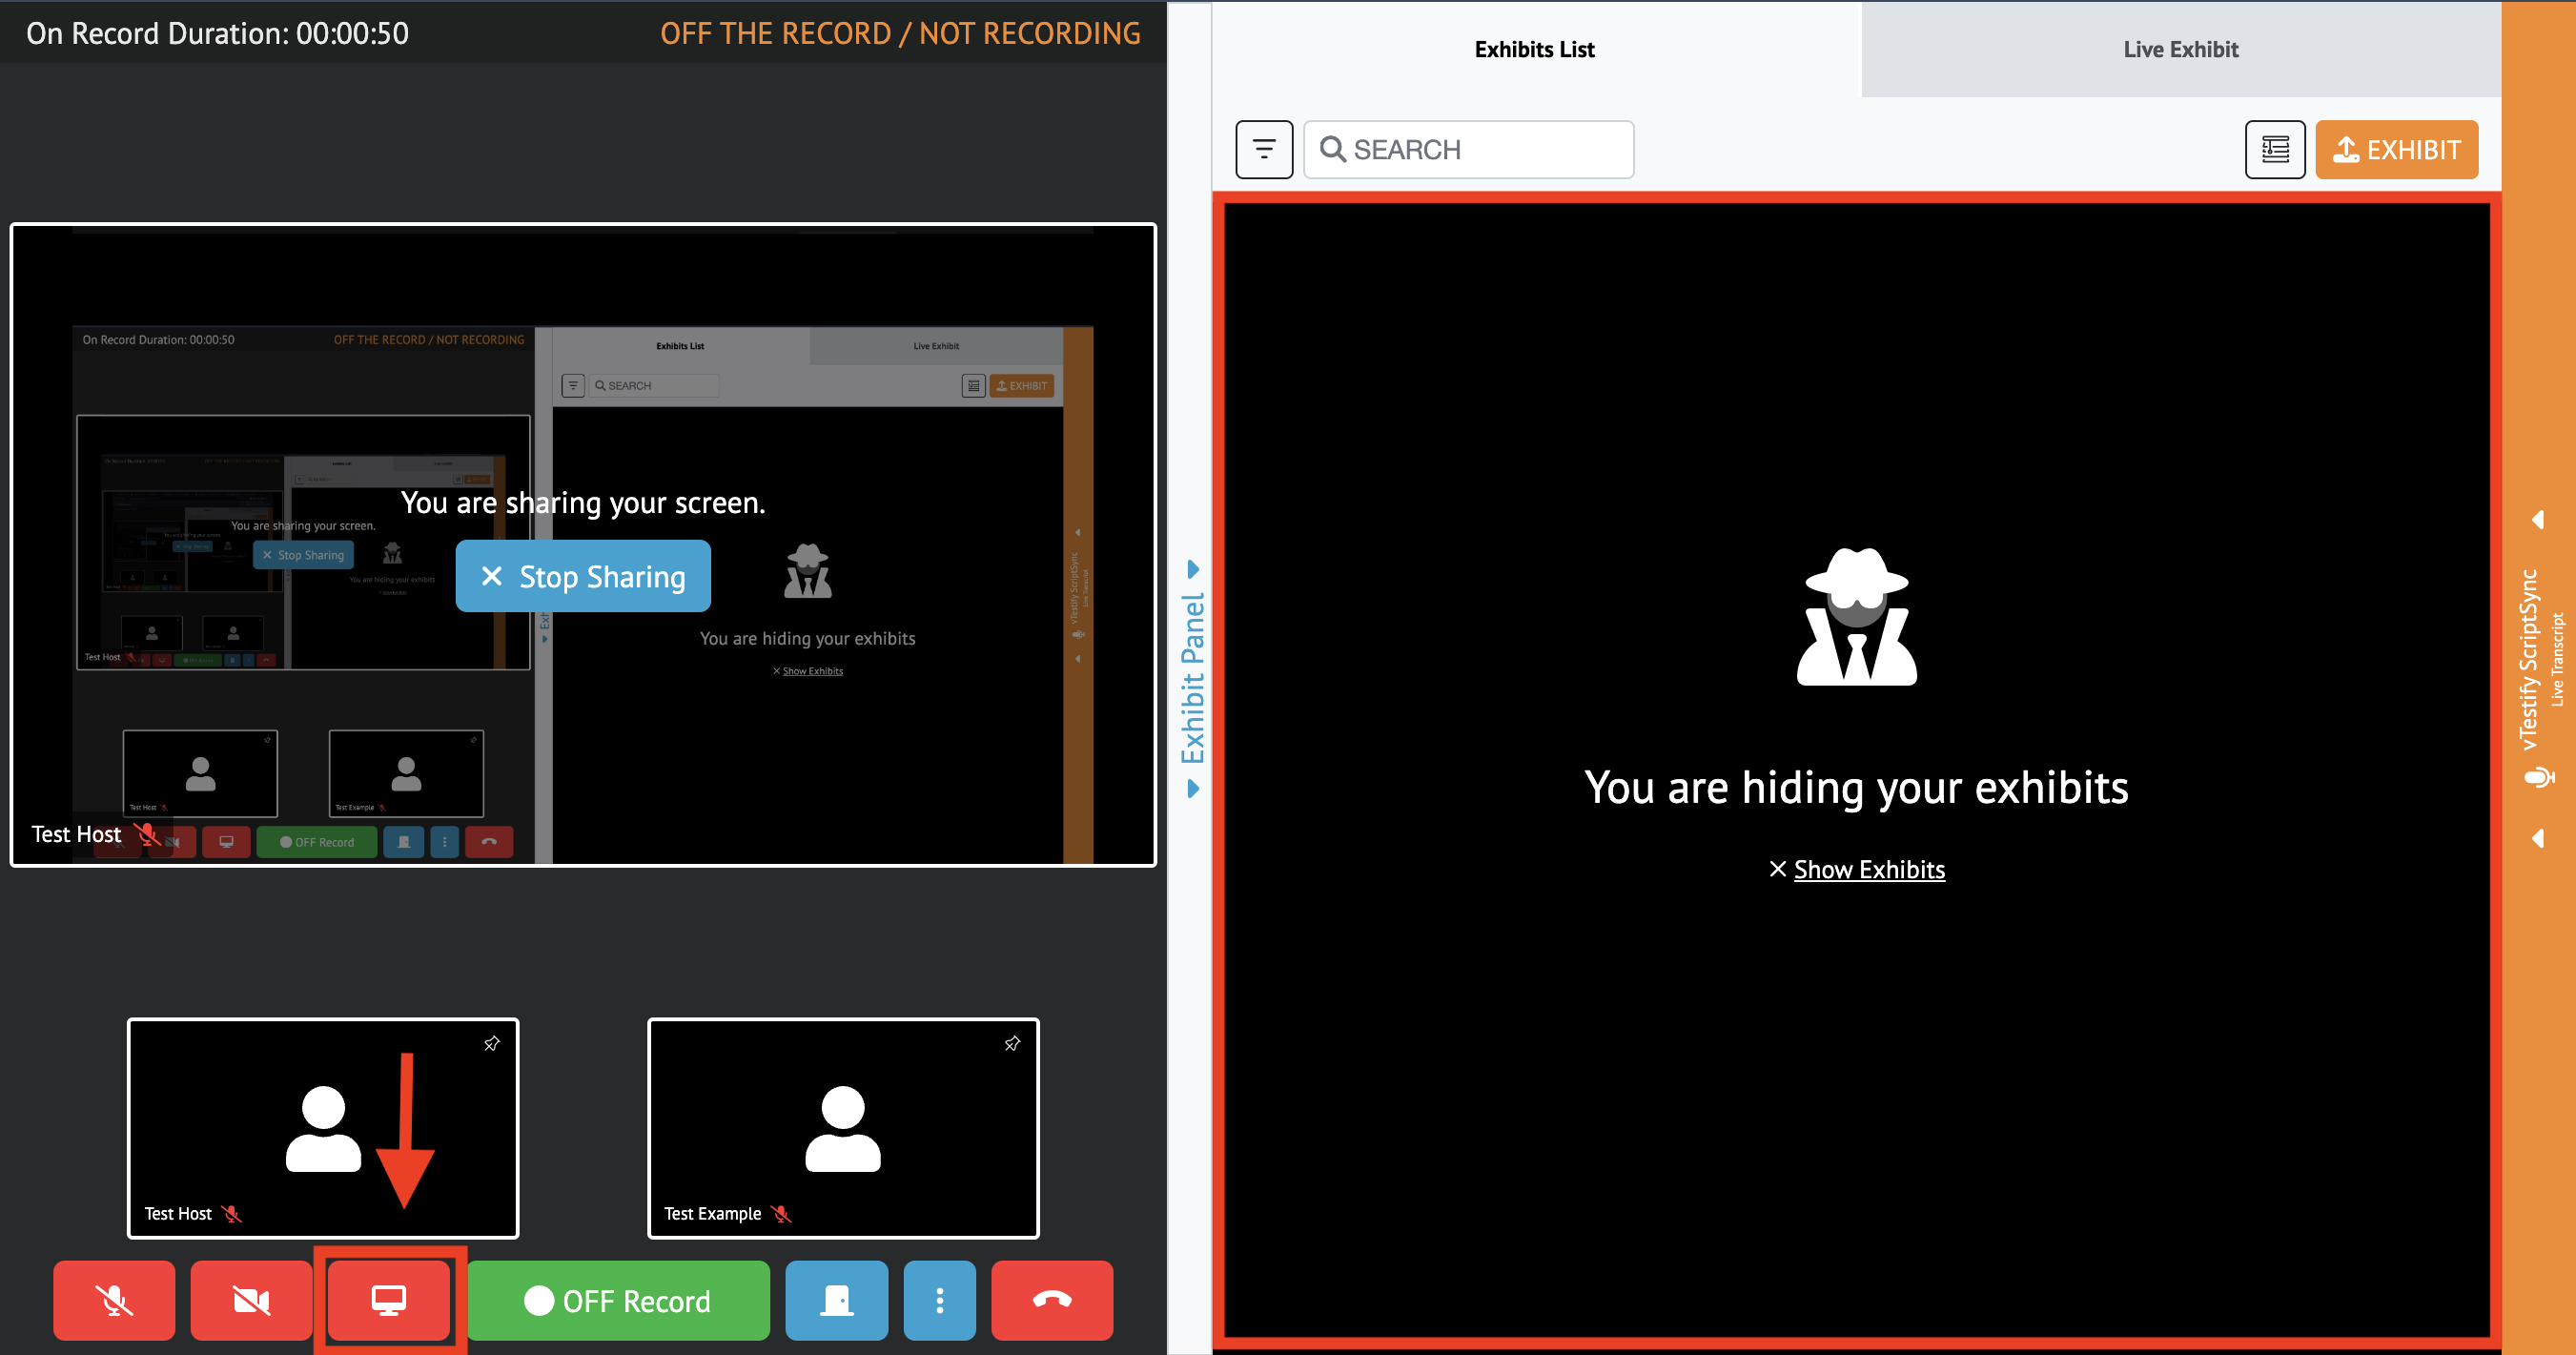
The “Privacy Shade” feature allows you to keep your exhibit list private while you are utilizing the Screen share feature. Please see How-to Screen Share within a Deposition
a. Starting a Screen Share will automatically enable the Privacy Shade over your exhibit list.
If enabled, you also have the ability to use the Realtime speech-to-text feature. For more information please see How-to use the Realtime feature for more information.
All features for exhibits are located in the ‘Exhibit Panel’ on the right side of your screen
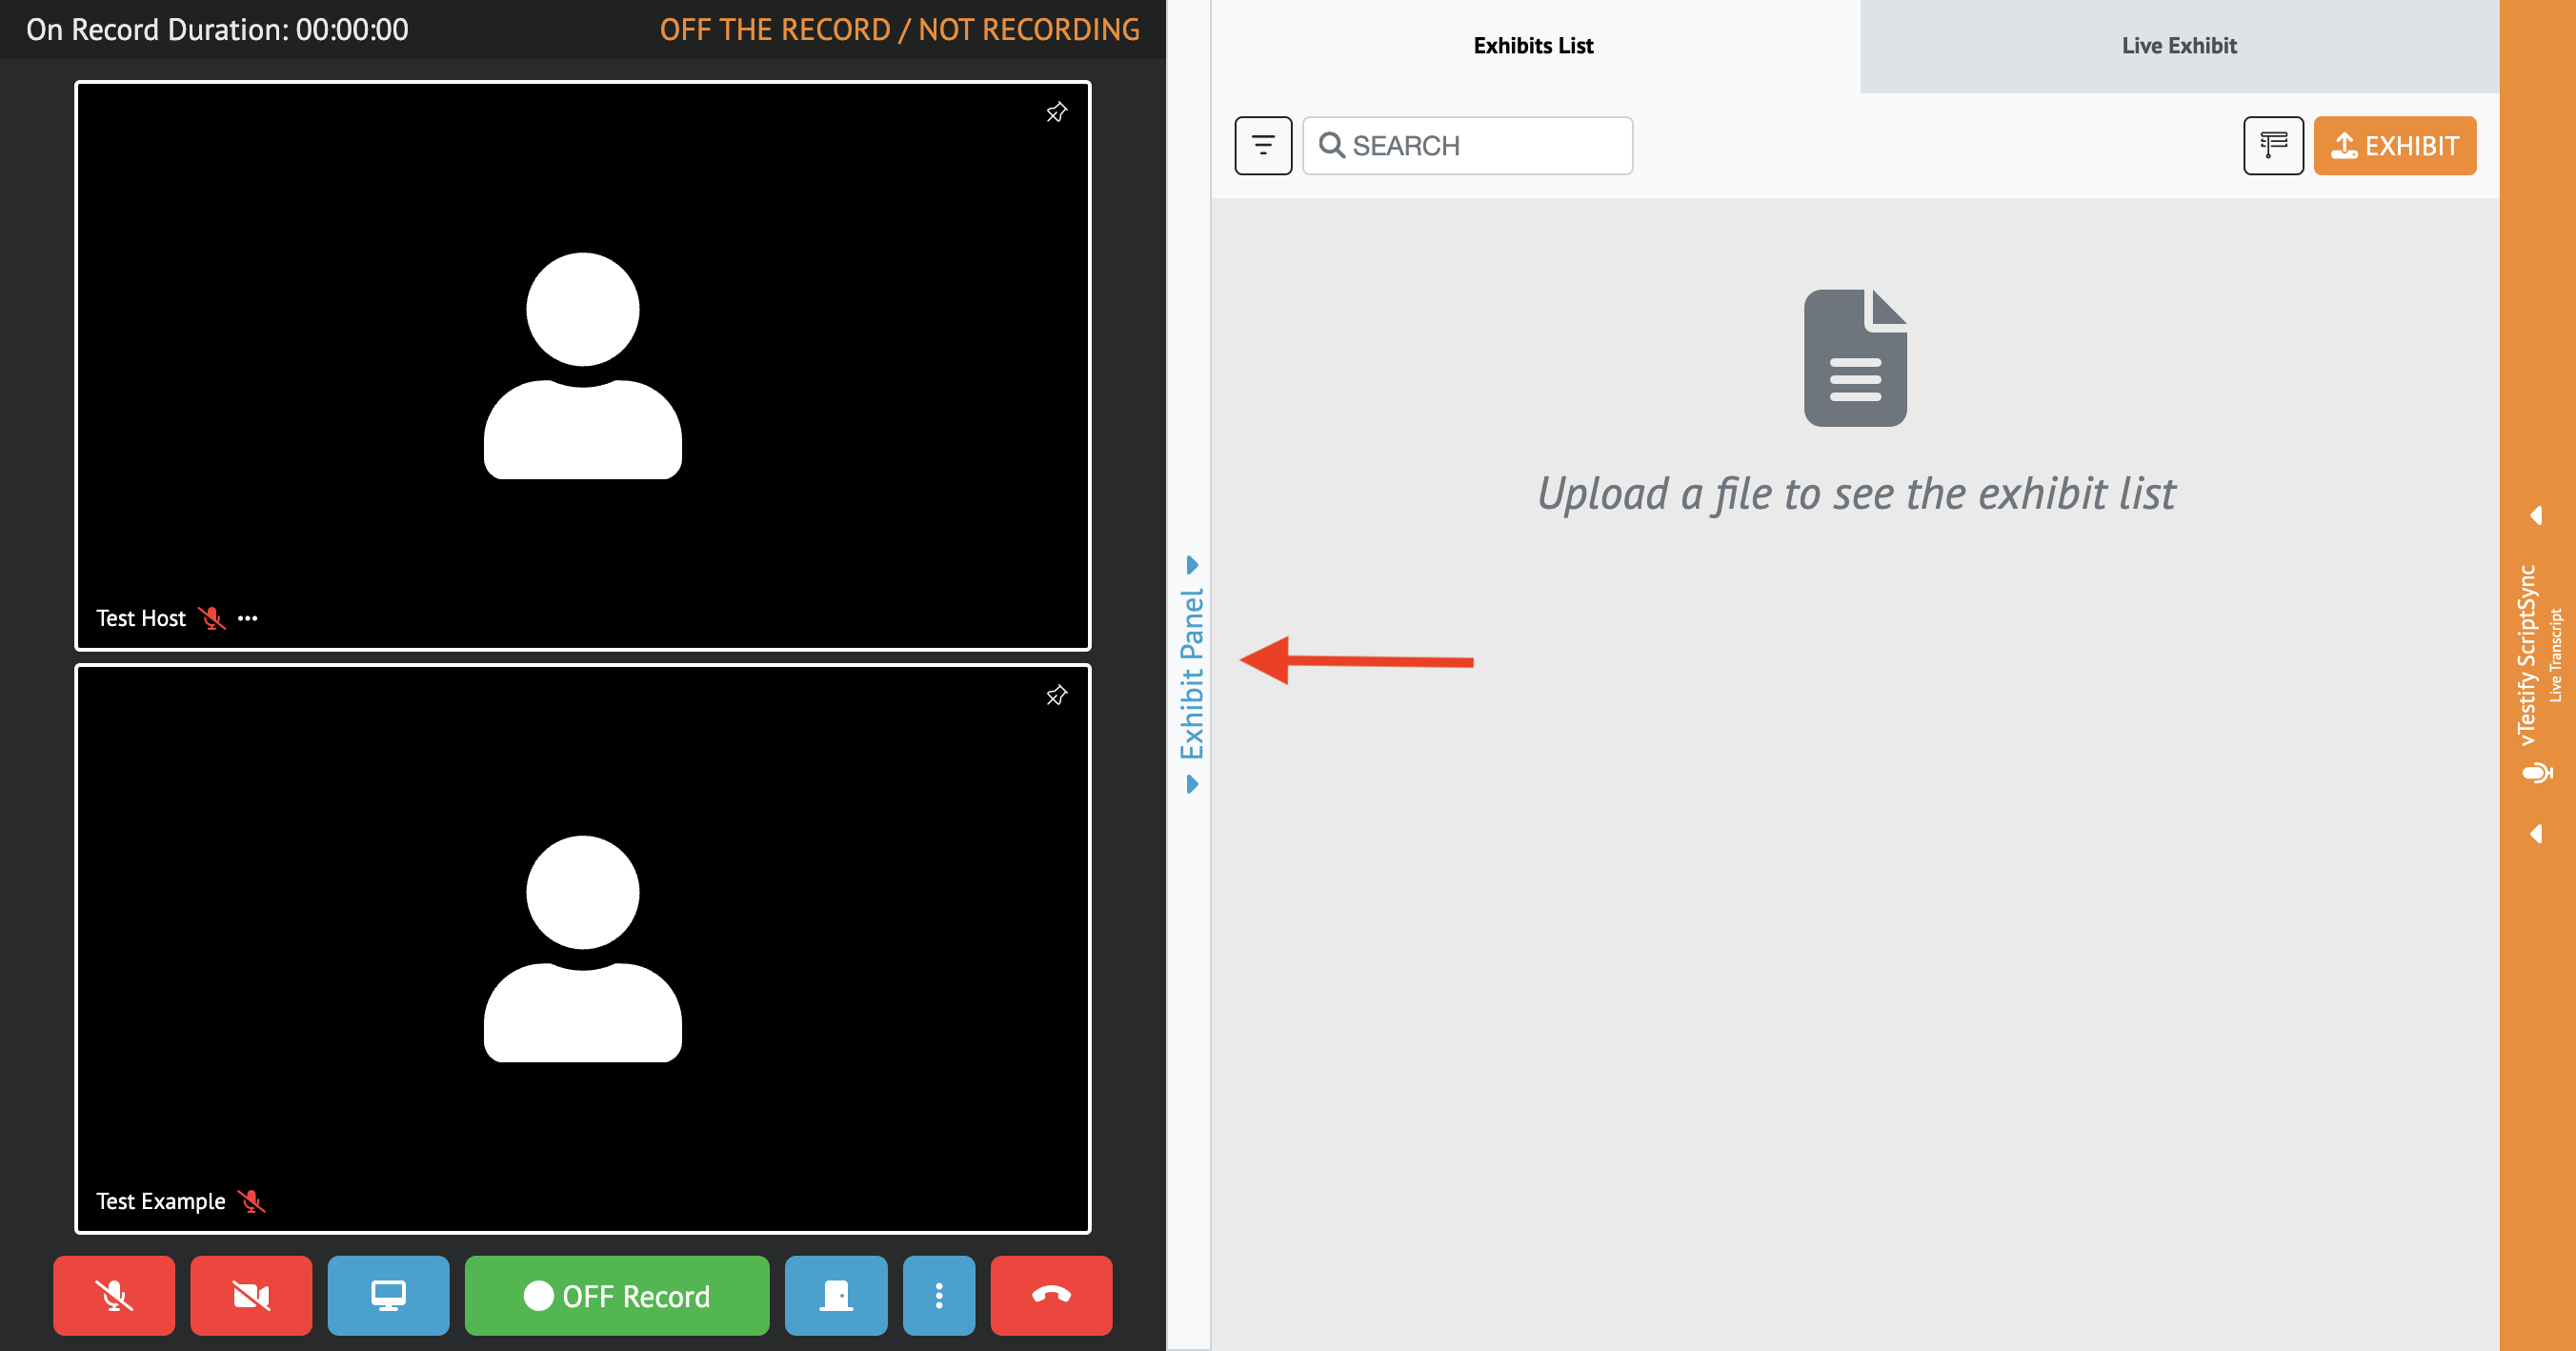
For further information on the exhibit features, see the following links:
All attendees can access a Sidebar Room
Click on the sidebar icon next to the ‘On/Off Record’ button
These are designed to have off-the-record conversations as these rooms cannot be recorded
All attendees have access to enter any of the four available Sidebar Rooms of a deposition
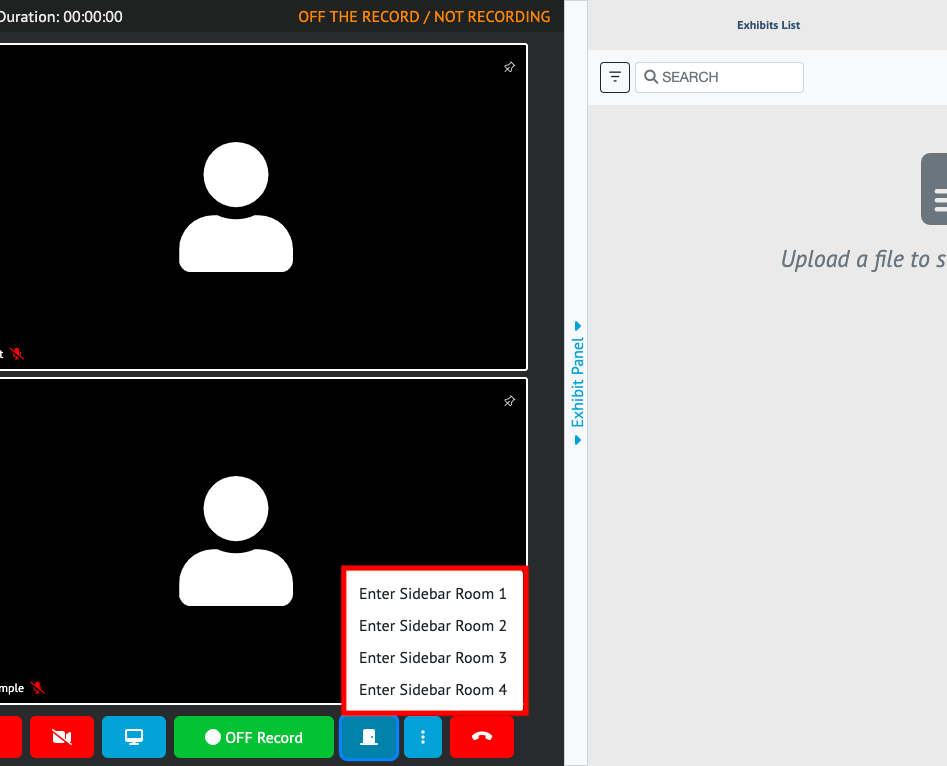
You have the option to lock the Sidebar Rooms
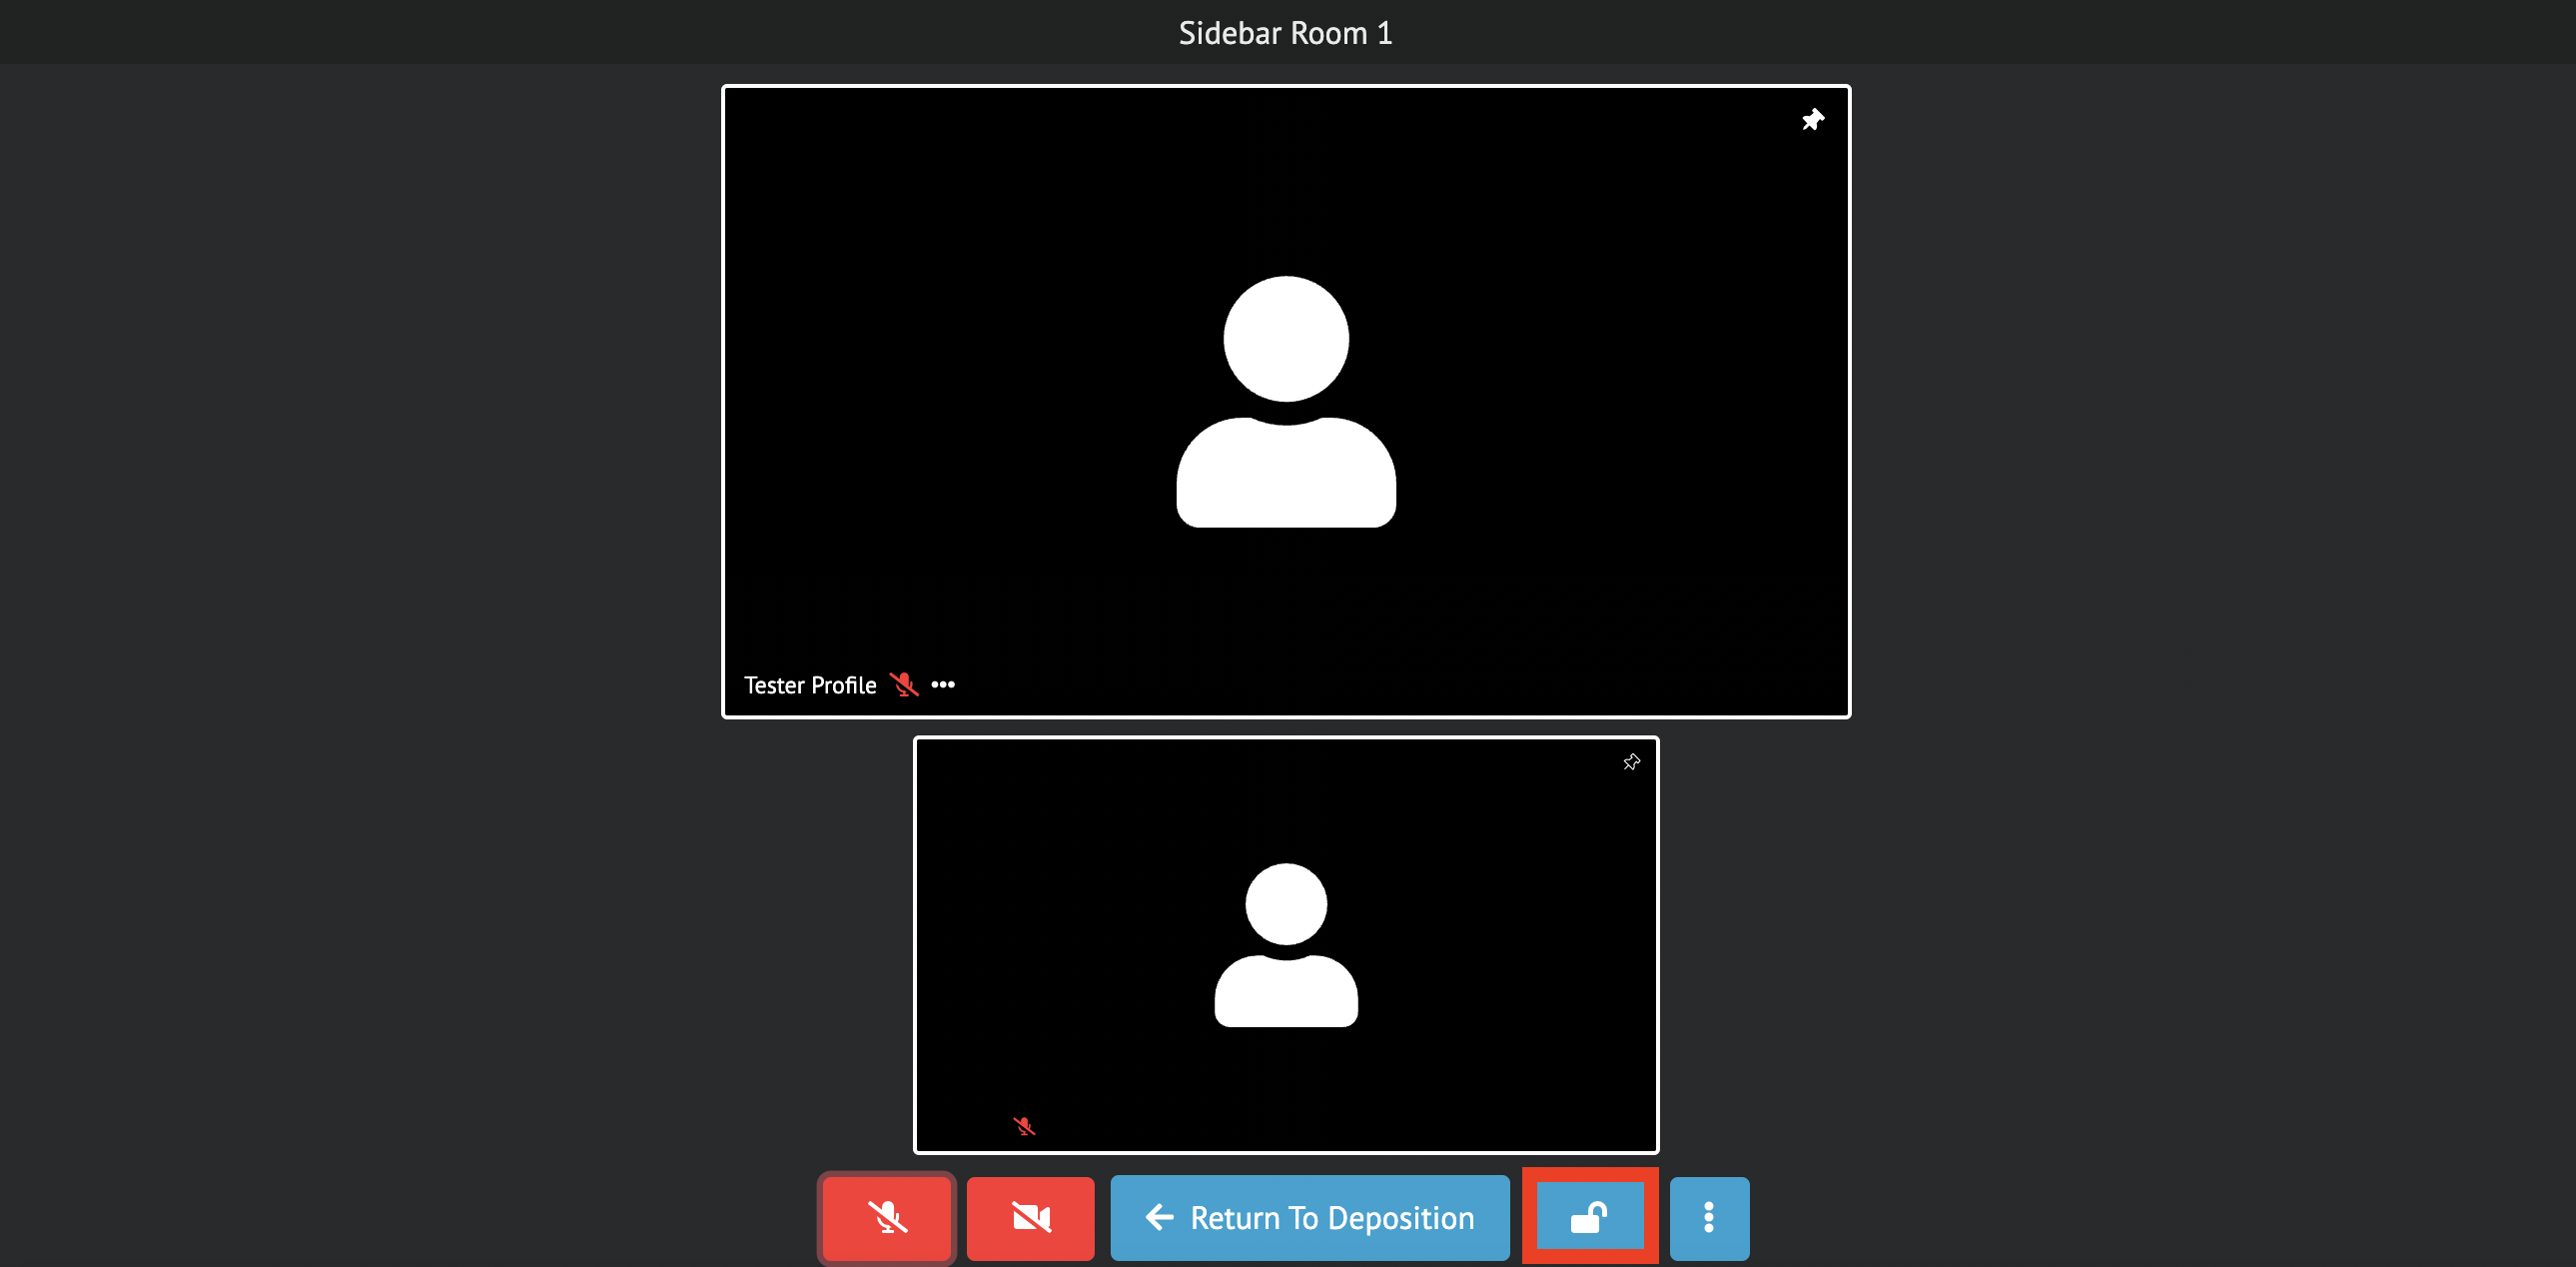
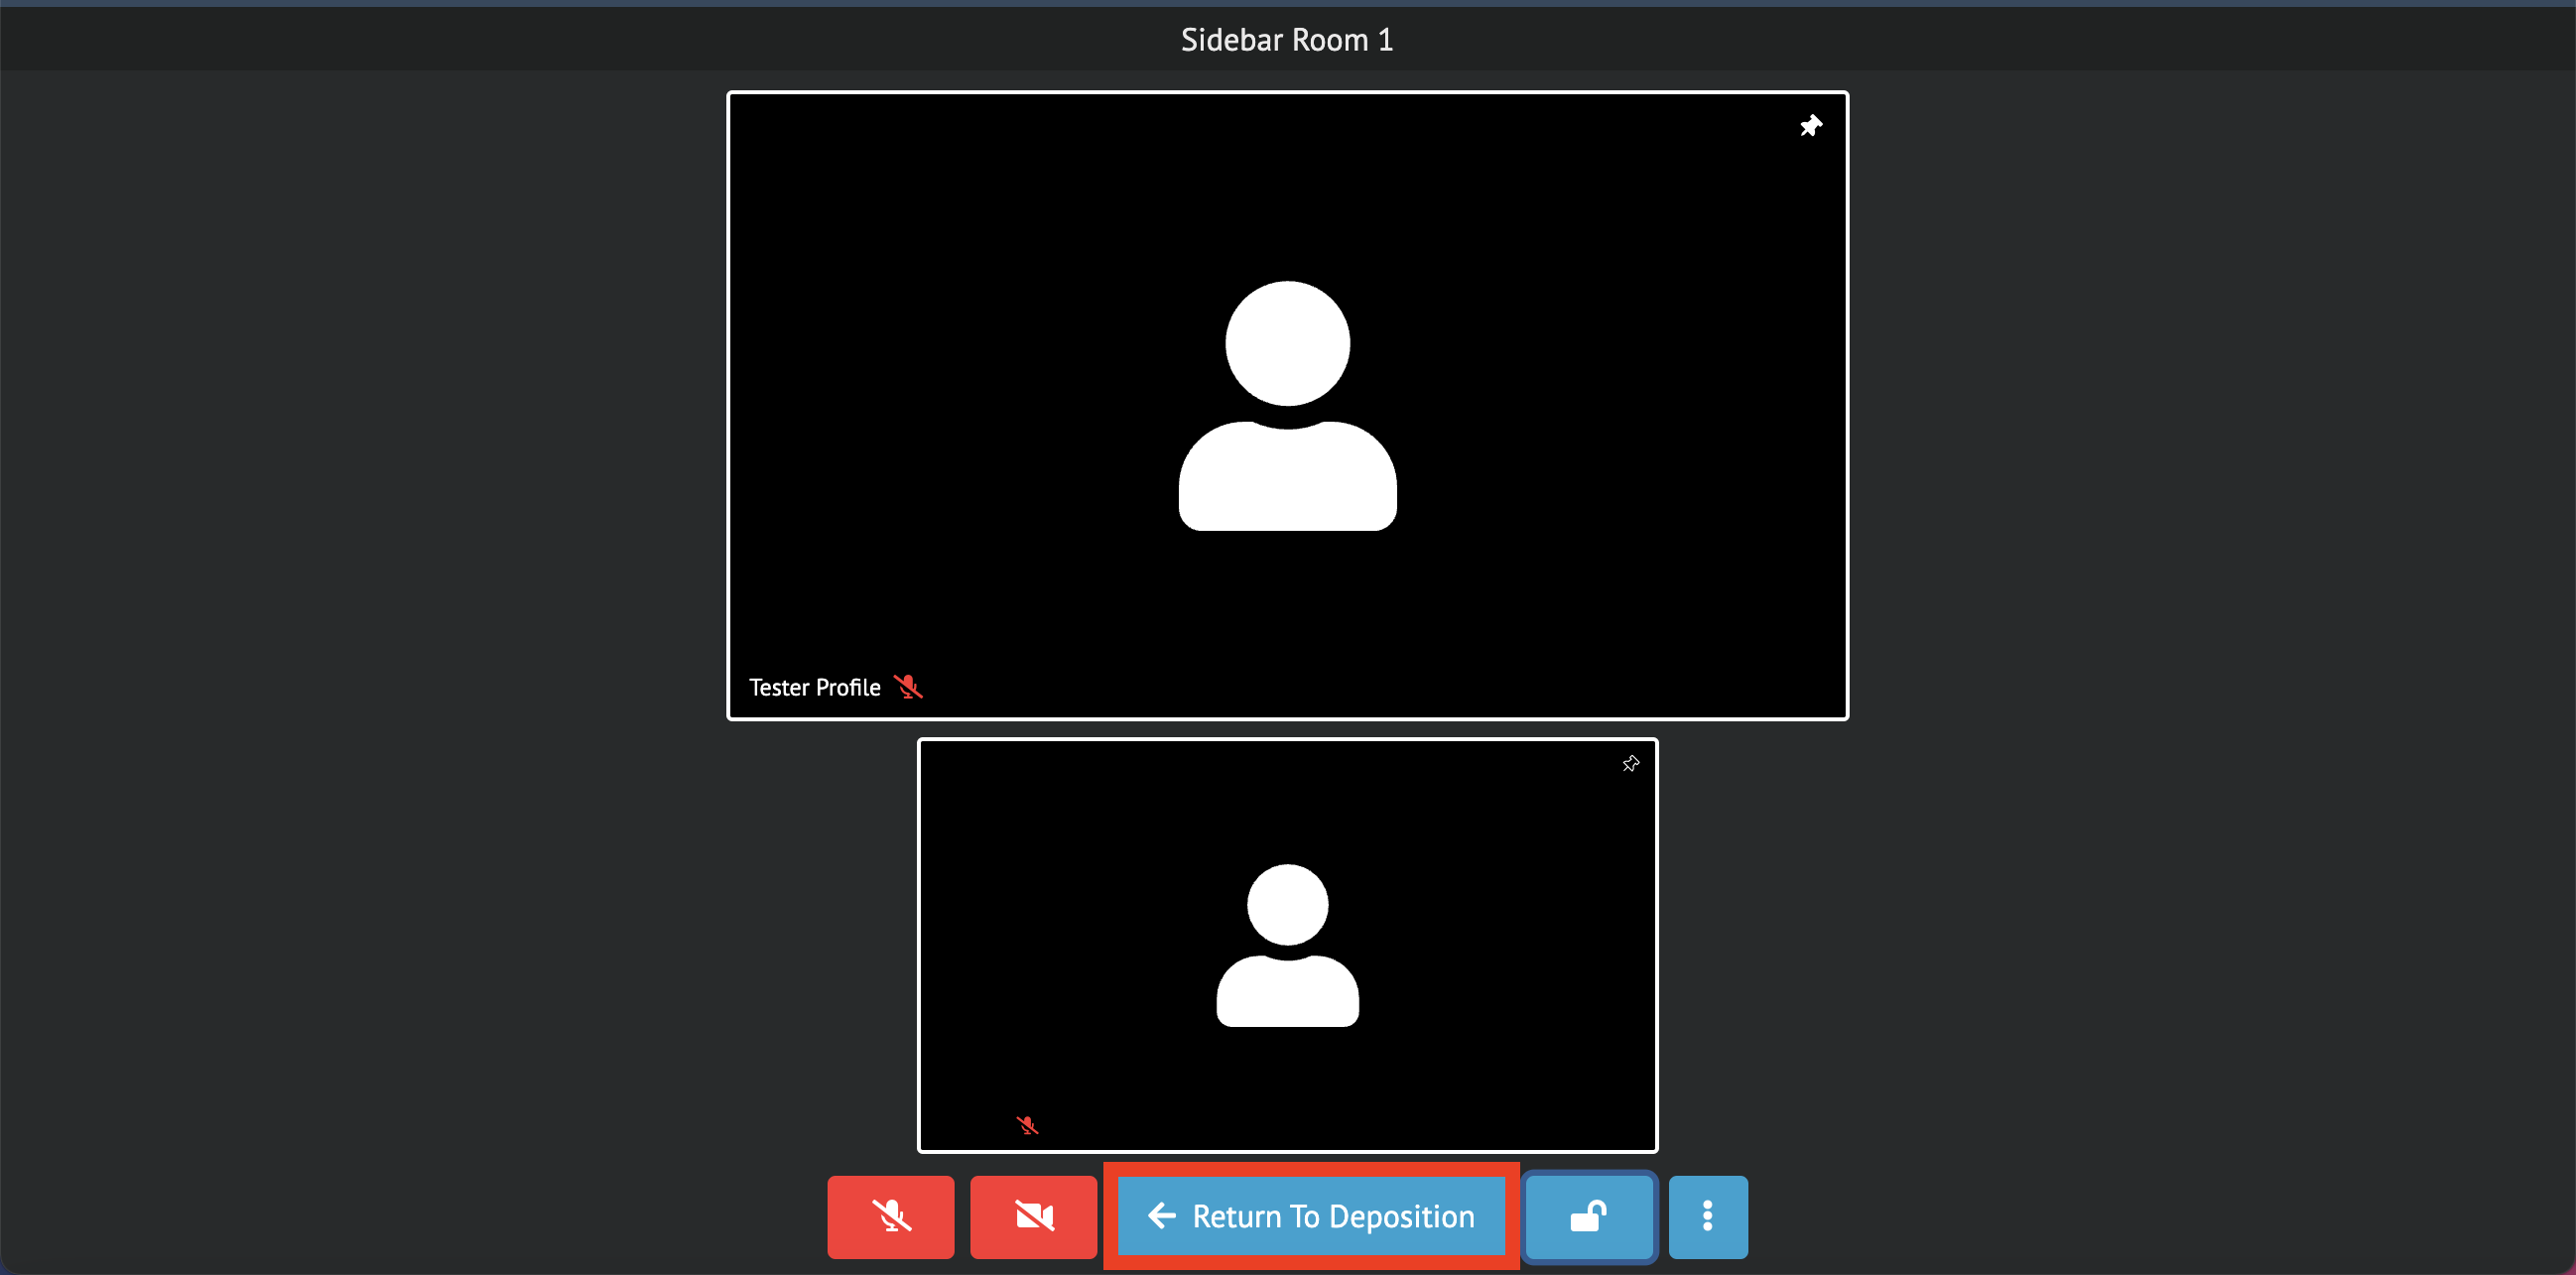
ii. Once a Sidebar Room is locked and the blue “lock” button changes from blue to red, additional attendees cannot enter except for the Host and Co-Host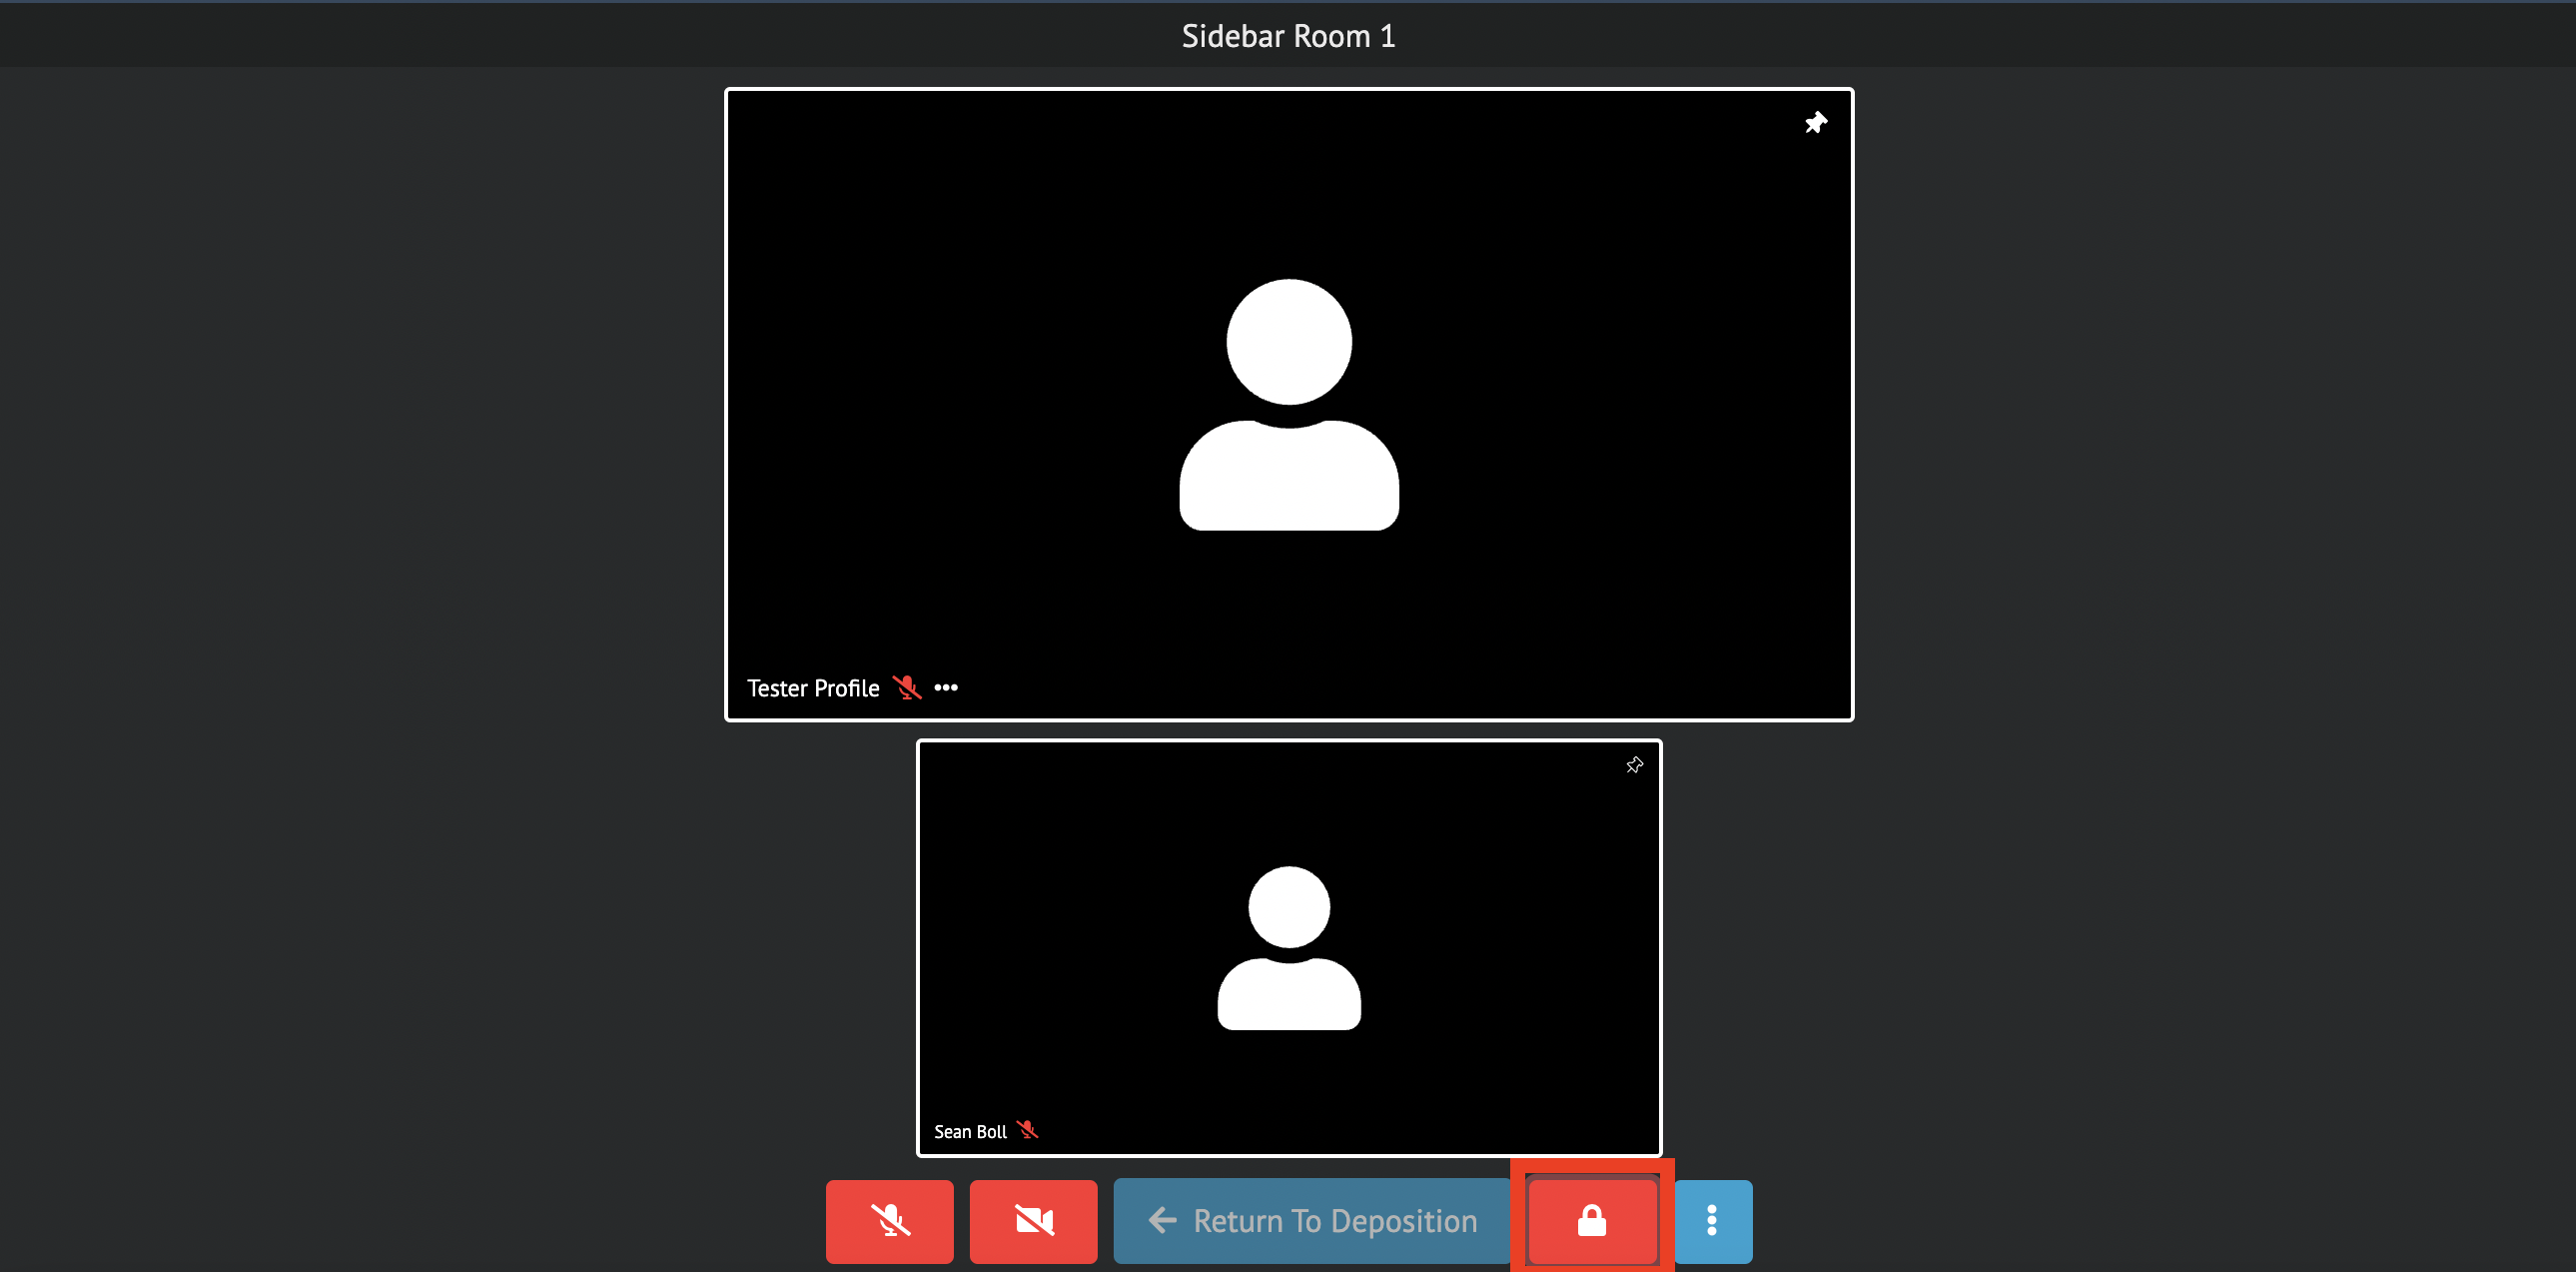
Only the Host and Co-Host can unlock a Sidebar Room from outside of the Sidebar Rooms
When the Room has been unlocked by the Host or Co-Host, the user inside the sidebar will be notified
c. To return to the main Deposition Room, select the “Return to Deposition” button in blue
iii. The Sidebar Room must be unlocked before you can navigate back to the main Deposition Room
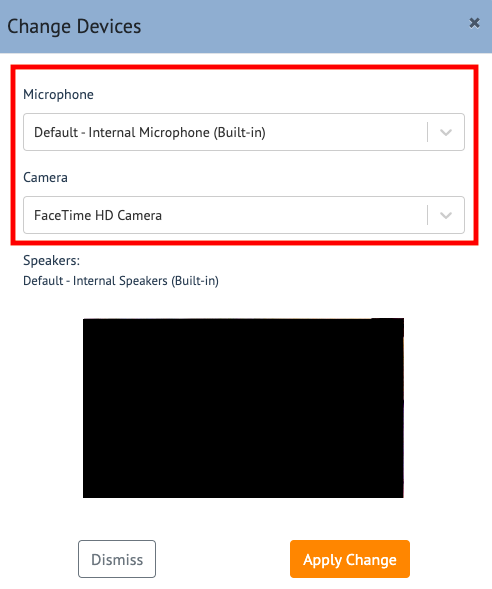
12. In the deposition room, you have the ability to modify your Camera and/or Microphone-in use.
a. To access this, start by selecting the 3 dots next to the ‘Red Telephone’ icon
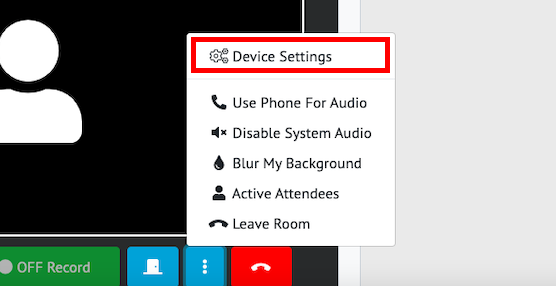
b. This will open a drop-down menu, click on Device Settings
c. A pop-up window will appear, giving you access to modify either your Camera or Microphone to the desired option. Click “Apply Change” to save any changes made.
